Features in depth
This page covers the advanced features of Mail Portal
Mail Portal is your one-stop mail administration, webmail, contacts and calendaring gateway. Before following this in-depth guide, please make sure you’ve covered this help article.
Editing account details
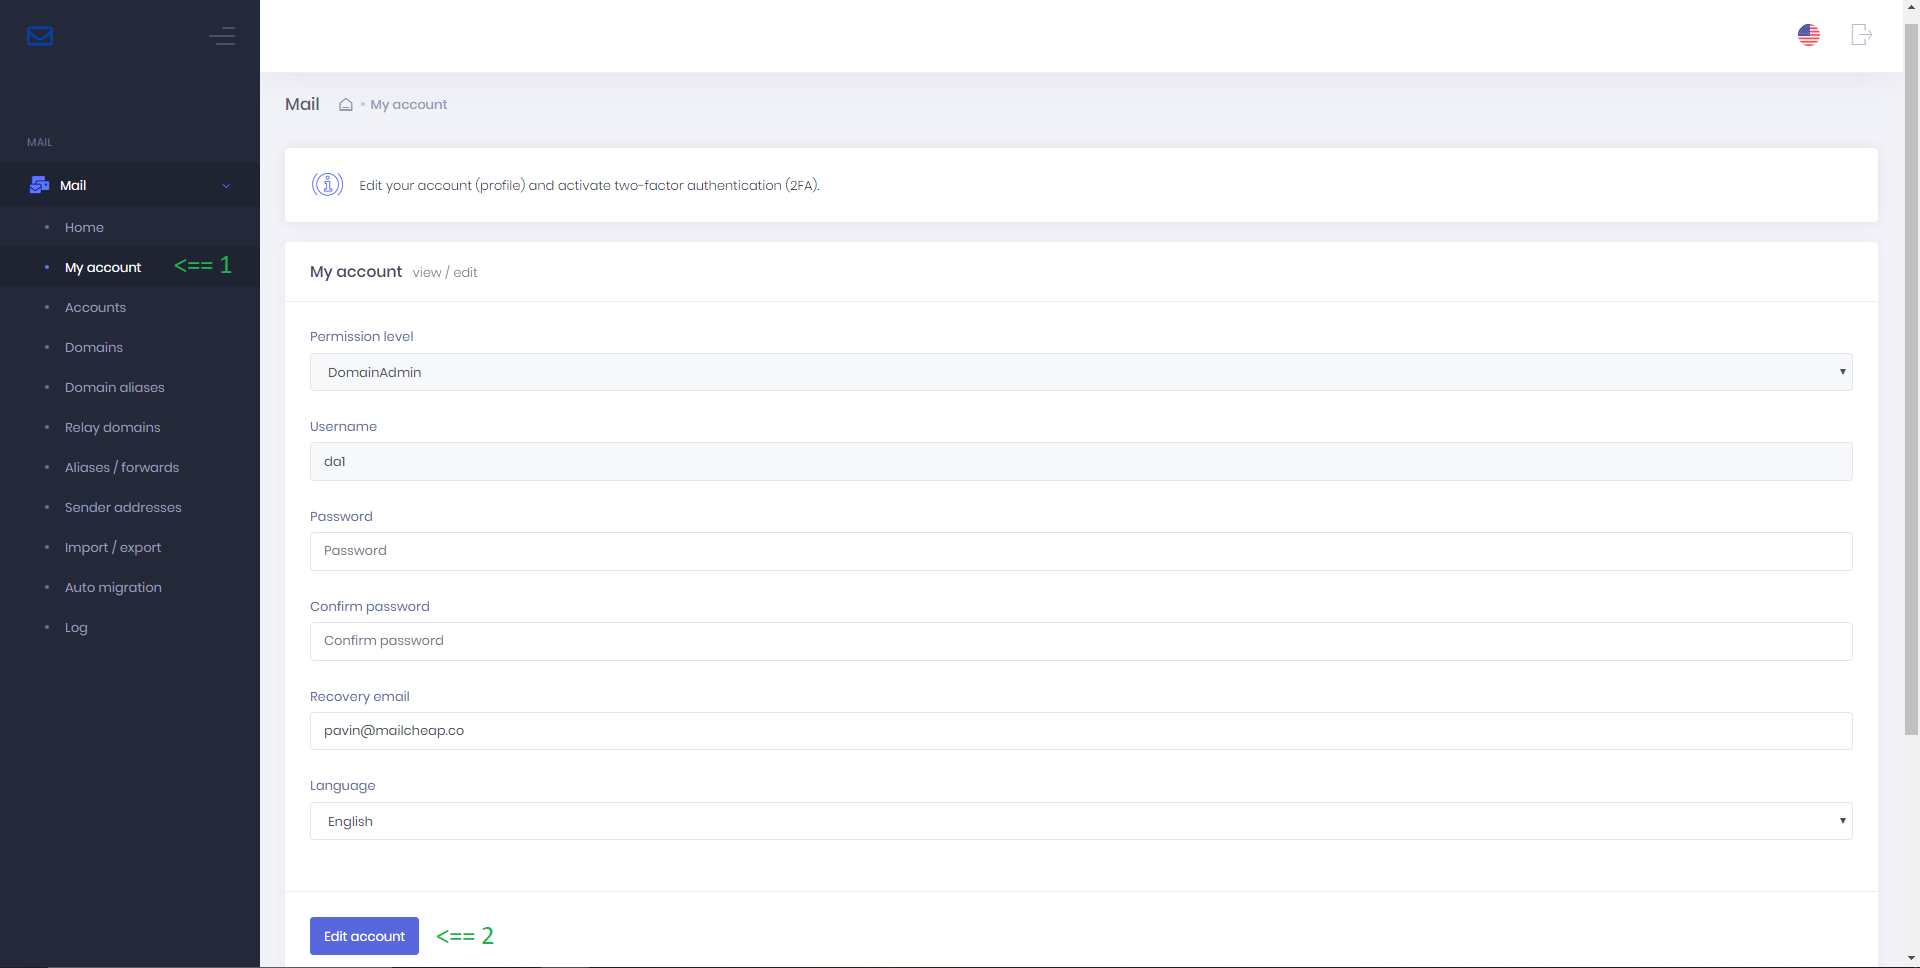
Your account details like password and recovery email (used for password resets) can be updated from My account page.
Two-factor authentication (2FA)
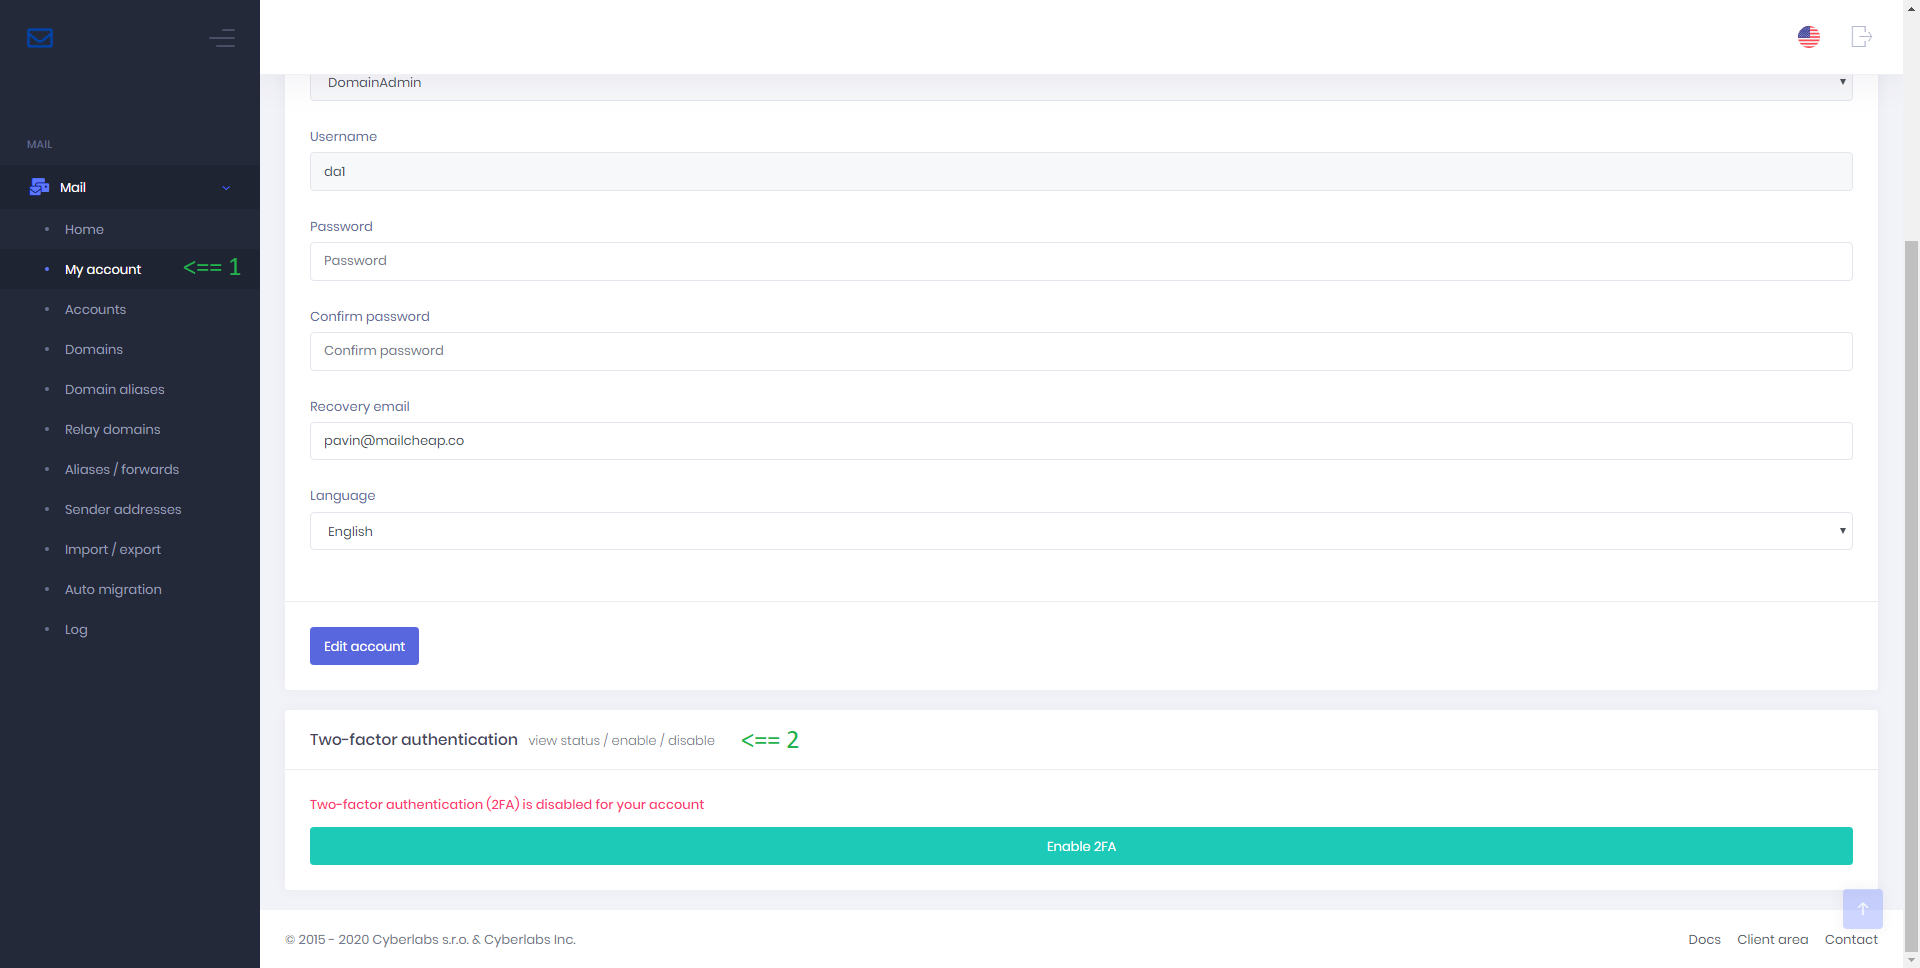
Two-factor authentication (2FA) can be enabled/disabled from My account page. Setup two-factor authentication (2FA) to prevent account takeovers by requiring a second factor such as a one-time password (OTP) in addition to your normal password for login. This 2FA requires the use of an authenticator app supporting TOTP (time-based one-time password) such as Authy. For more information on how 2FA works, see section Software Tokens for 2FA at Authy.
Setting up 2FA
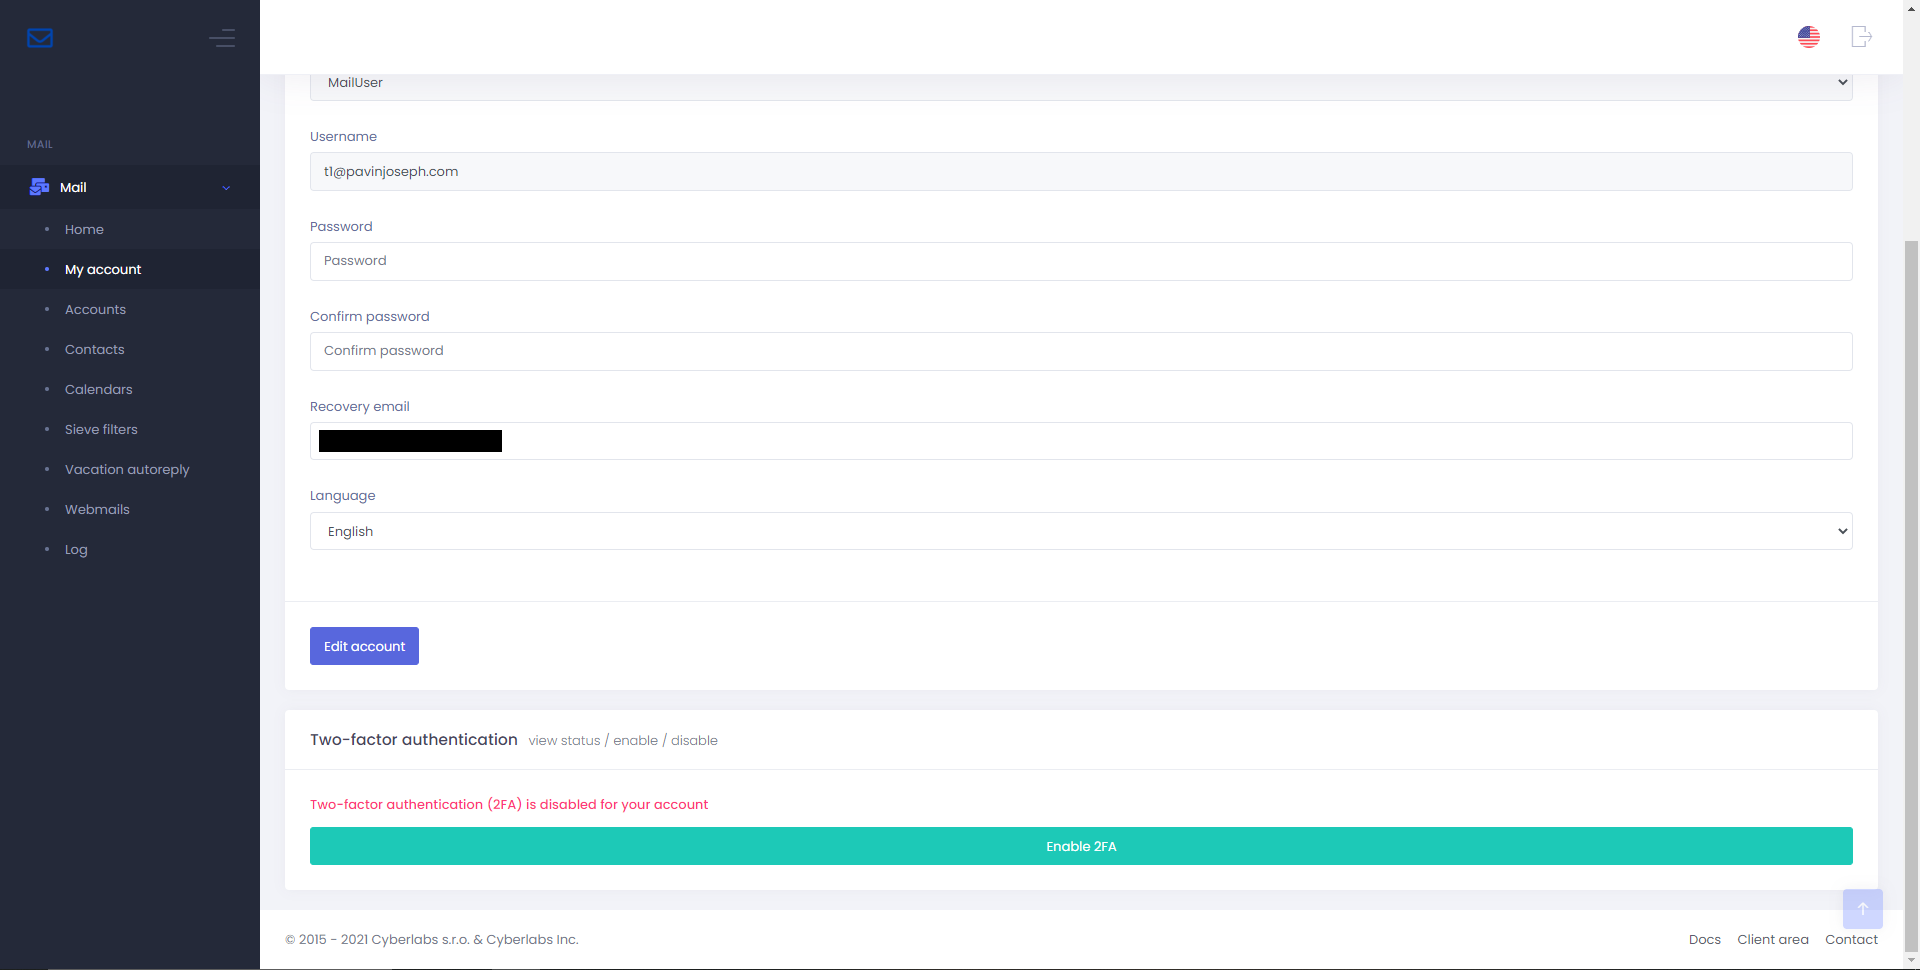
In this example, 2FA will be setup for a MailUser (email account). You will need a secondary device, for example a smartphone. We recommend using Twilio Authy as it encrypts 2FA keys locally and syncs them with the cloud for multi-device access and backup & restoration.
Step 1
From the menu bar, select > My account > under section Two-factor authentication > press Enable 2FA
Step 2
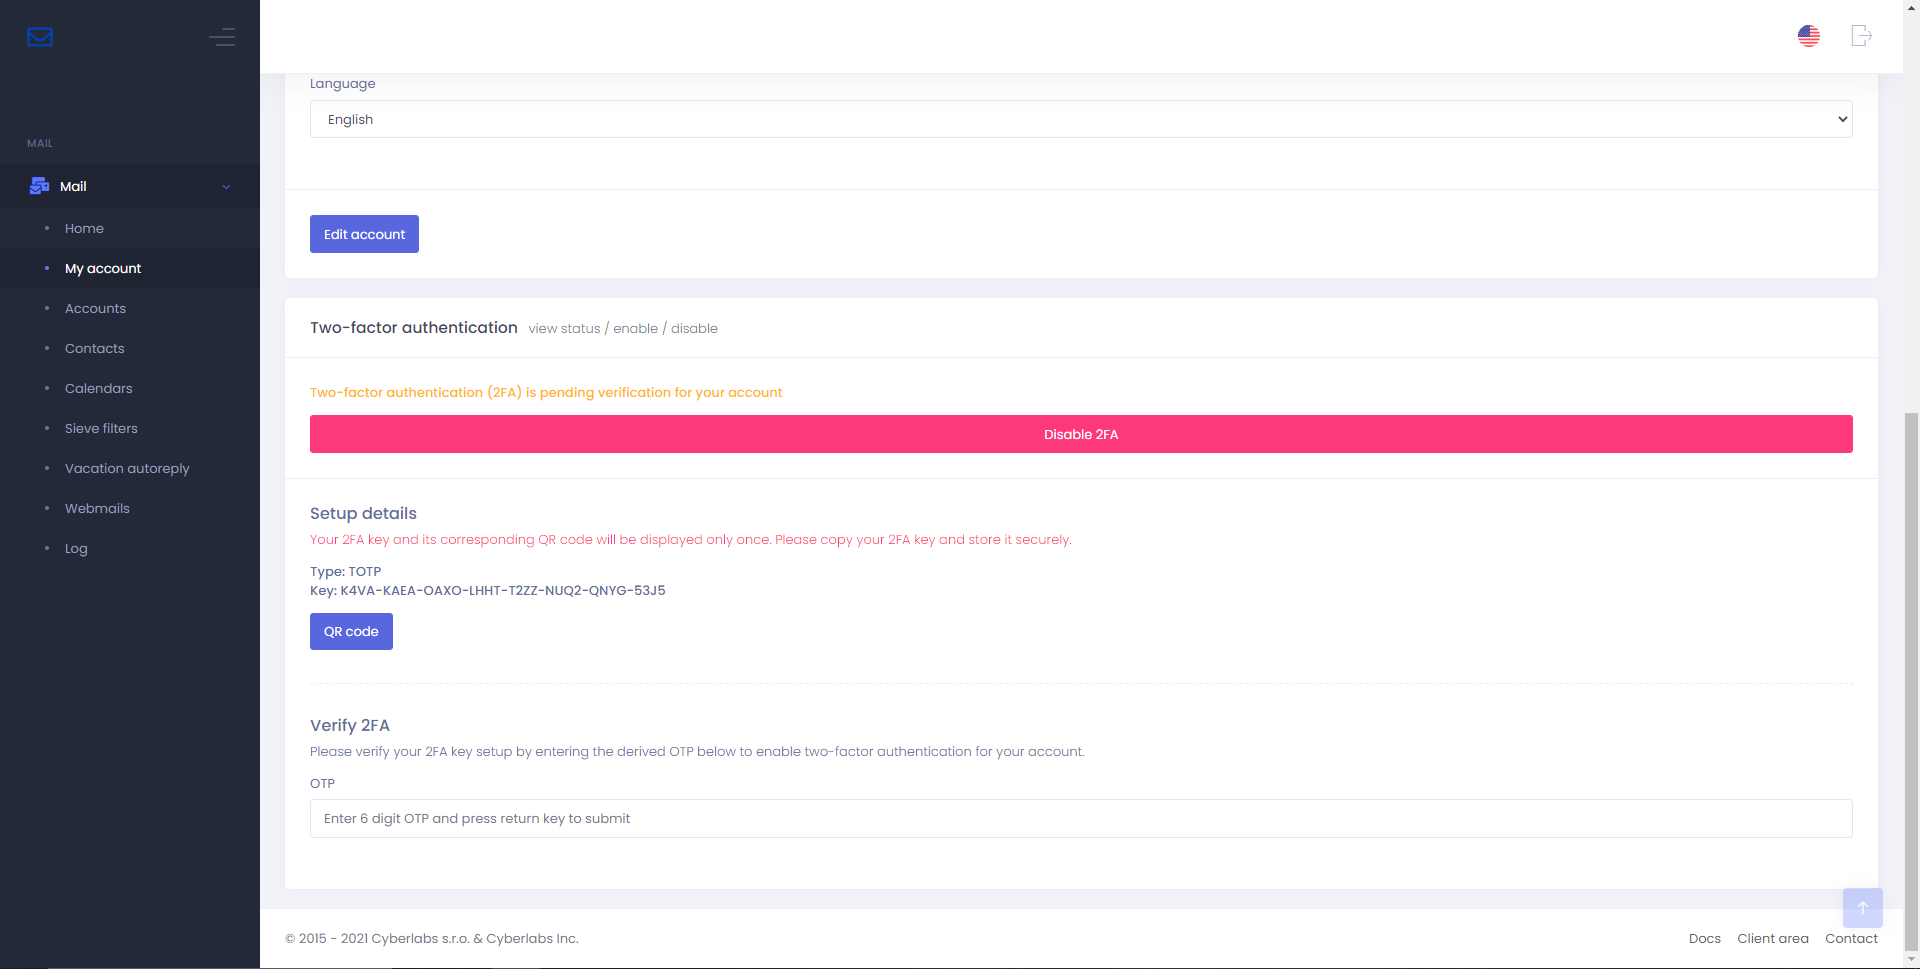
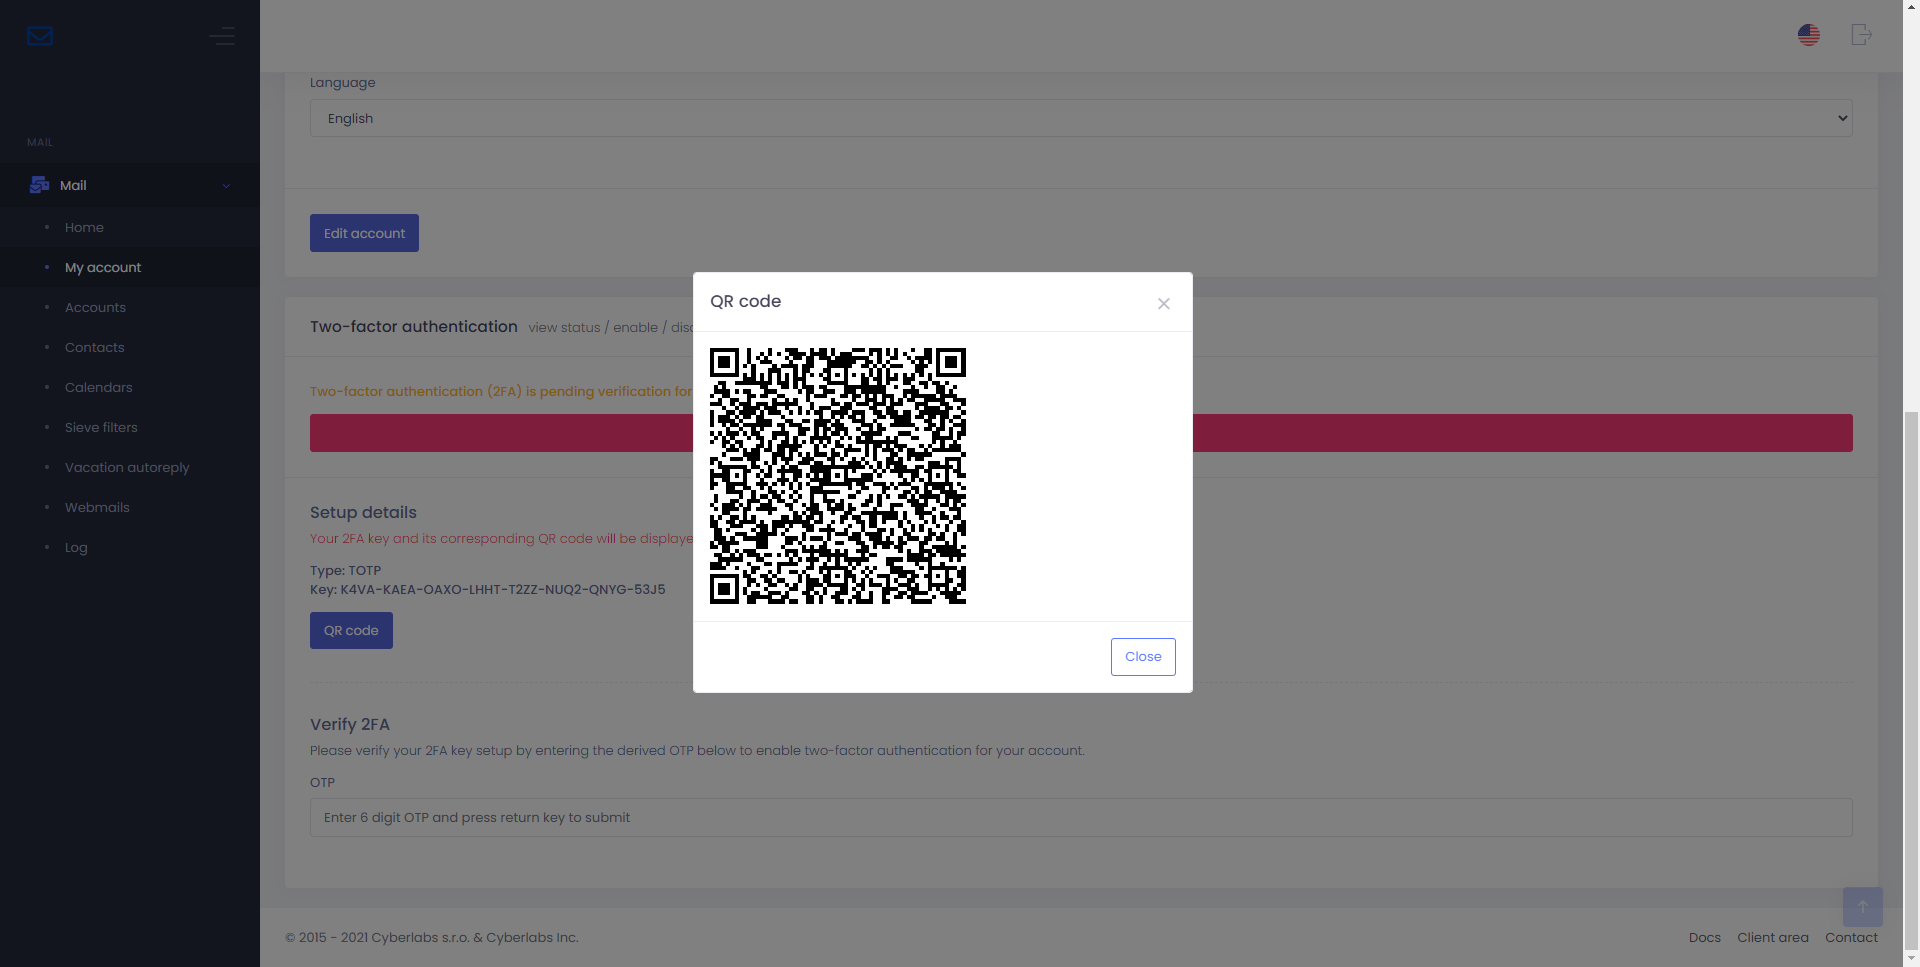
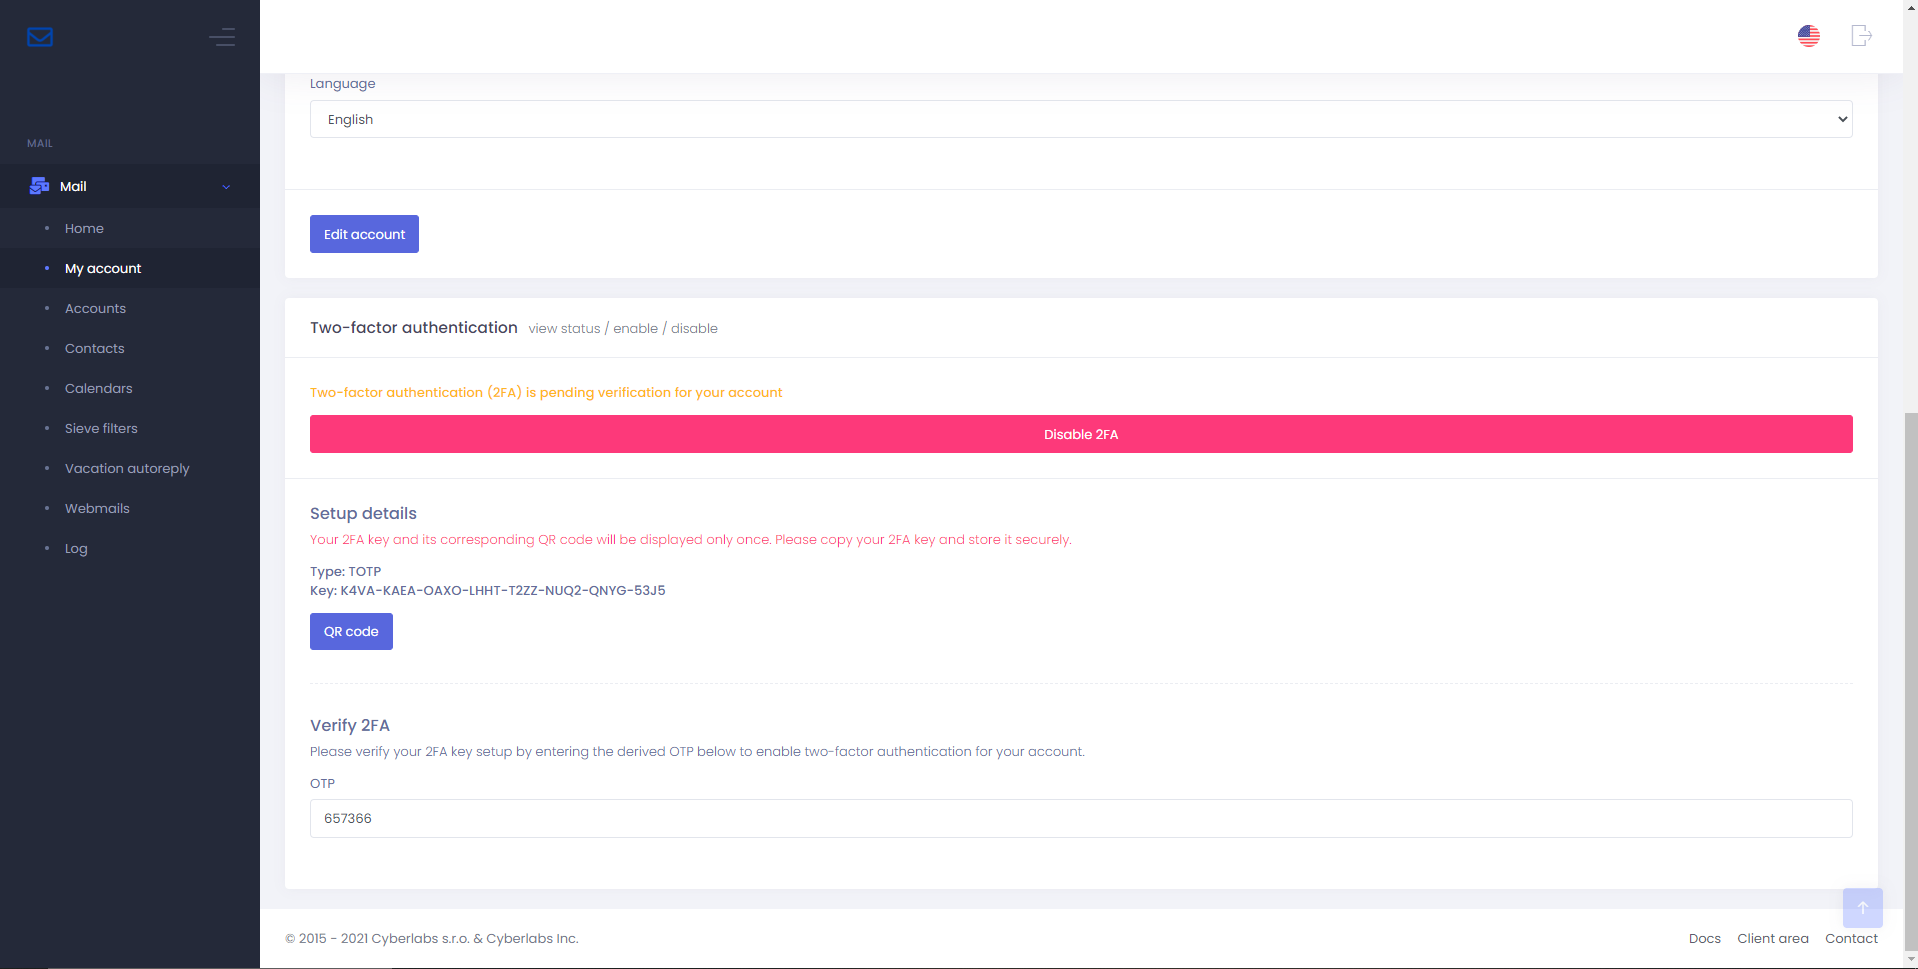
You will now be presented with the 2FA key and its corresponding QR code, note down the 2FA key in a secure offline location for recovery in case of a lost/broken device or app
| Fig. 1 | Fig. 2 |
|---|---|
 |
 |
Step 3
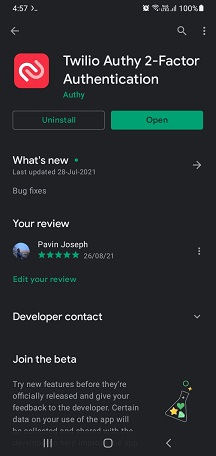
Download and install the Twilio Authy 2-Factor Authentication app on your secondary device, pictured here is an Android smartphone
Step 4
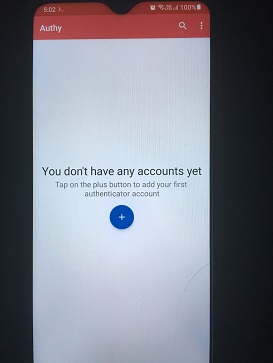
Open the Authy app and tap the plus button to add the 2FA key generated in Step 2
Step 5
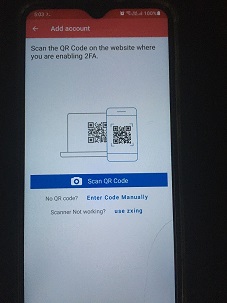
From the Authy app, use the QR code scanner or manually enter the 2FA key generated in Step 2
Step 6
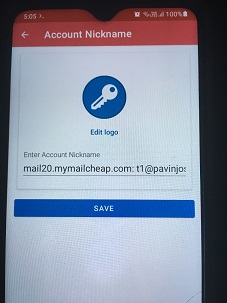
From the Authy app, choose a logo, choose a name for the 2FA key account, and tap Save
Step 7
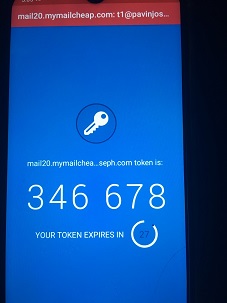
The Authy app will now present you with the one-time password (OTP) needed to verify and enable 2FA for the MailUser account in Step 2
Step 8
Back in Mail Portal, under Verify 2FA, enter the OTP generated by the Authy app and press the return (enter) key.
Tip
TOTP (time-based one-time password) as the name suggests requires an accurate device clock/time. Sync your device’s time with the carrier or an internet time server if the generated OTP is not accepted.
Step 9
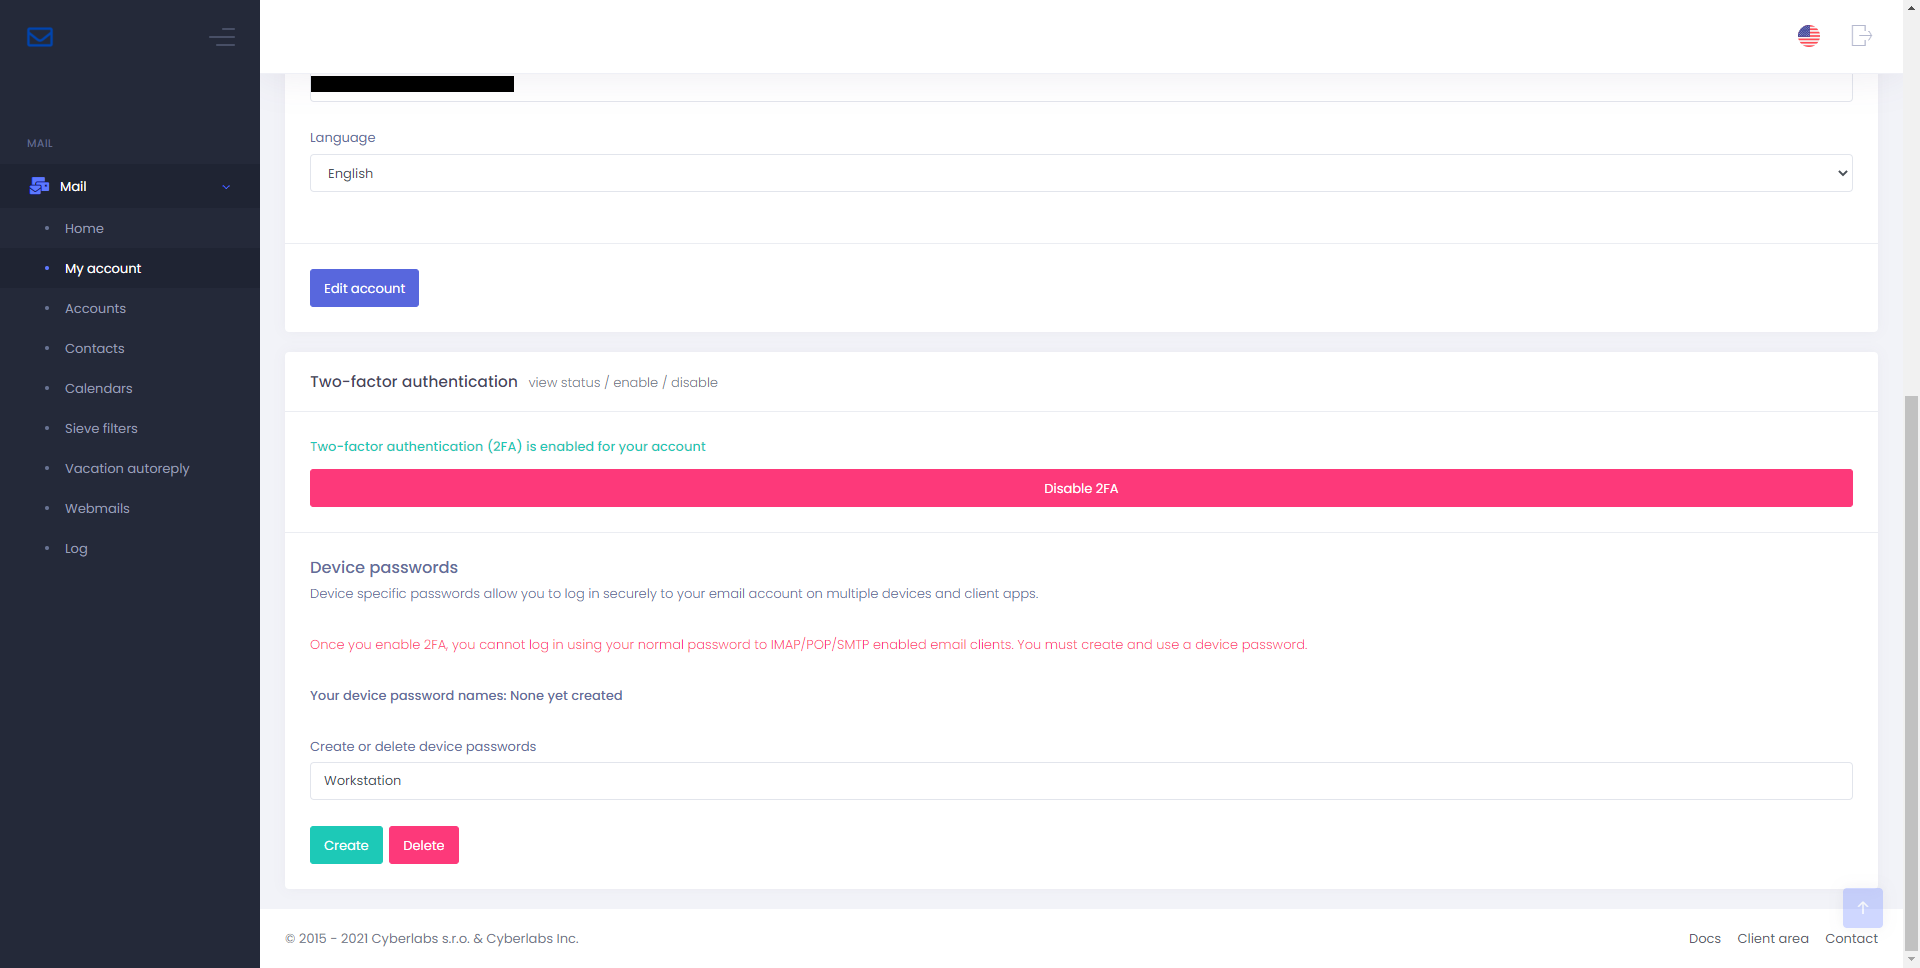
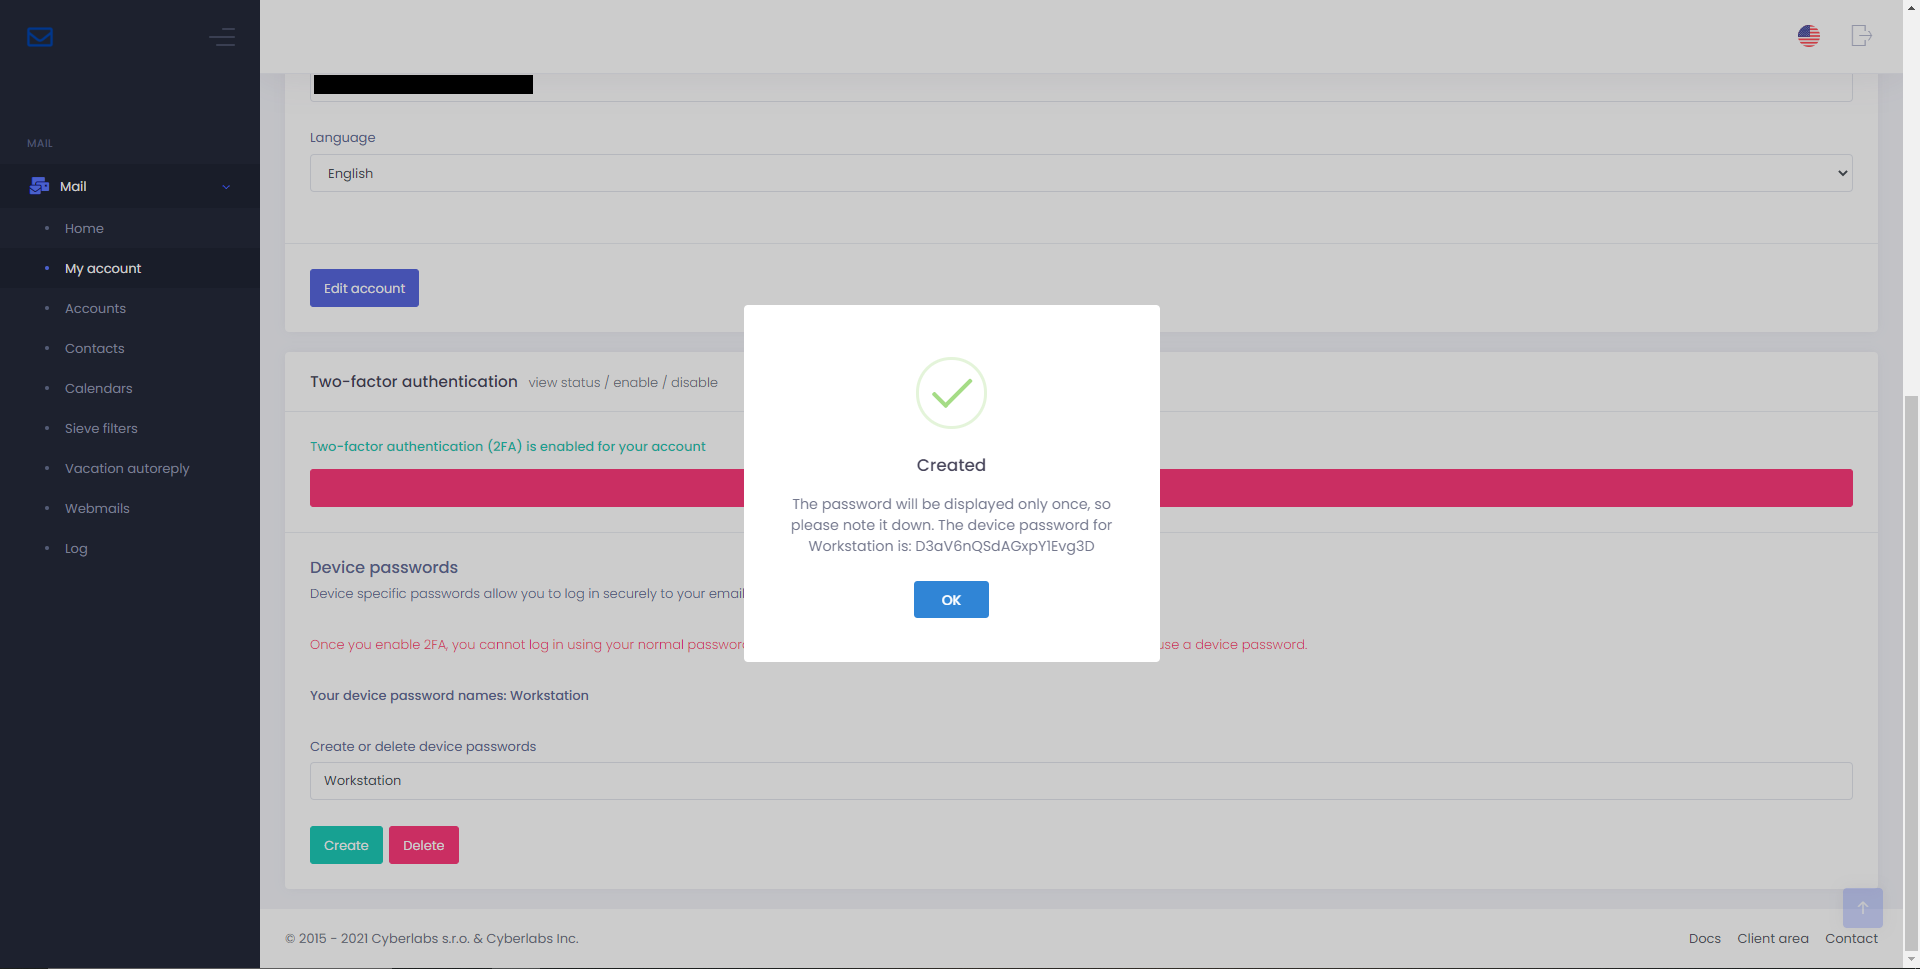
This step is only applicable to MailUsers (email accounts). Create a device password and save it in your password manager. You will need to use this device password to login to webmail or configure IMAP/POP/SMTP clients. We recommend creating a unique device password for configuring email in each of your device.
Caution
Once 2FA is enabled, MailUser accounts require device passwords to log in to webmail or IMAP/POP/SMTP enabled email clients. The mailserver will not accept the normal password.
| Fig. 3 | Fig. 4 |
|---|---|
 |
 |
Passwordless authentication
Setup passwordless authentication for ease of access, increased security, and to retain access if 2FA app/device is lost. Passwordless multi-factor authentication (MFA) uses PIN or biometrics together with any FIDO2-compliant authenticator to log you in without typing in any username, password, or OTP.
Some of the common FIDO2-compliant authenticators are:
- Apple’s Touch ID and Face ID
- Android biometrics
- Windows Hello
- Hardware security keys like SoloKey, YubiKey, and others.
It is recommended to setup multiple authenticators as you can retain passwordless access even if one of the authenticator is broken/lost. Hardware security keys can be used with any supported device, OS, or browser making it cross-platform compatible.
Passkeys generated on iOS, iPadOS, and Android will be available on your other Apple/Android devices (synced automatically). Additionally, passkeys generated on iOS, iPadOS, and Android can be used for cross-device authentication, wherein an authentication request on your desktop/laptop/mobile device running Chrome or Edge can be serviced by the passkey in your Apple/Android device using Bluetooth or NFC.
Setup Windows Hello
In this example, a Windows Hello credential will be registered for passwordless authentication on a PC running Windows 10 OS and Chrome v114 browser.
Step 1
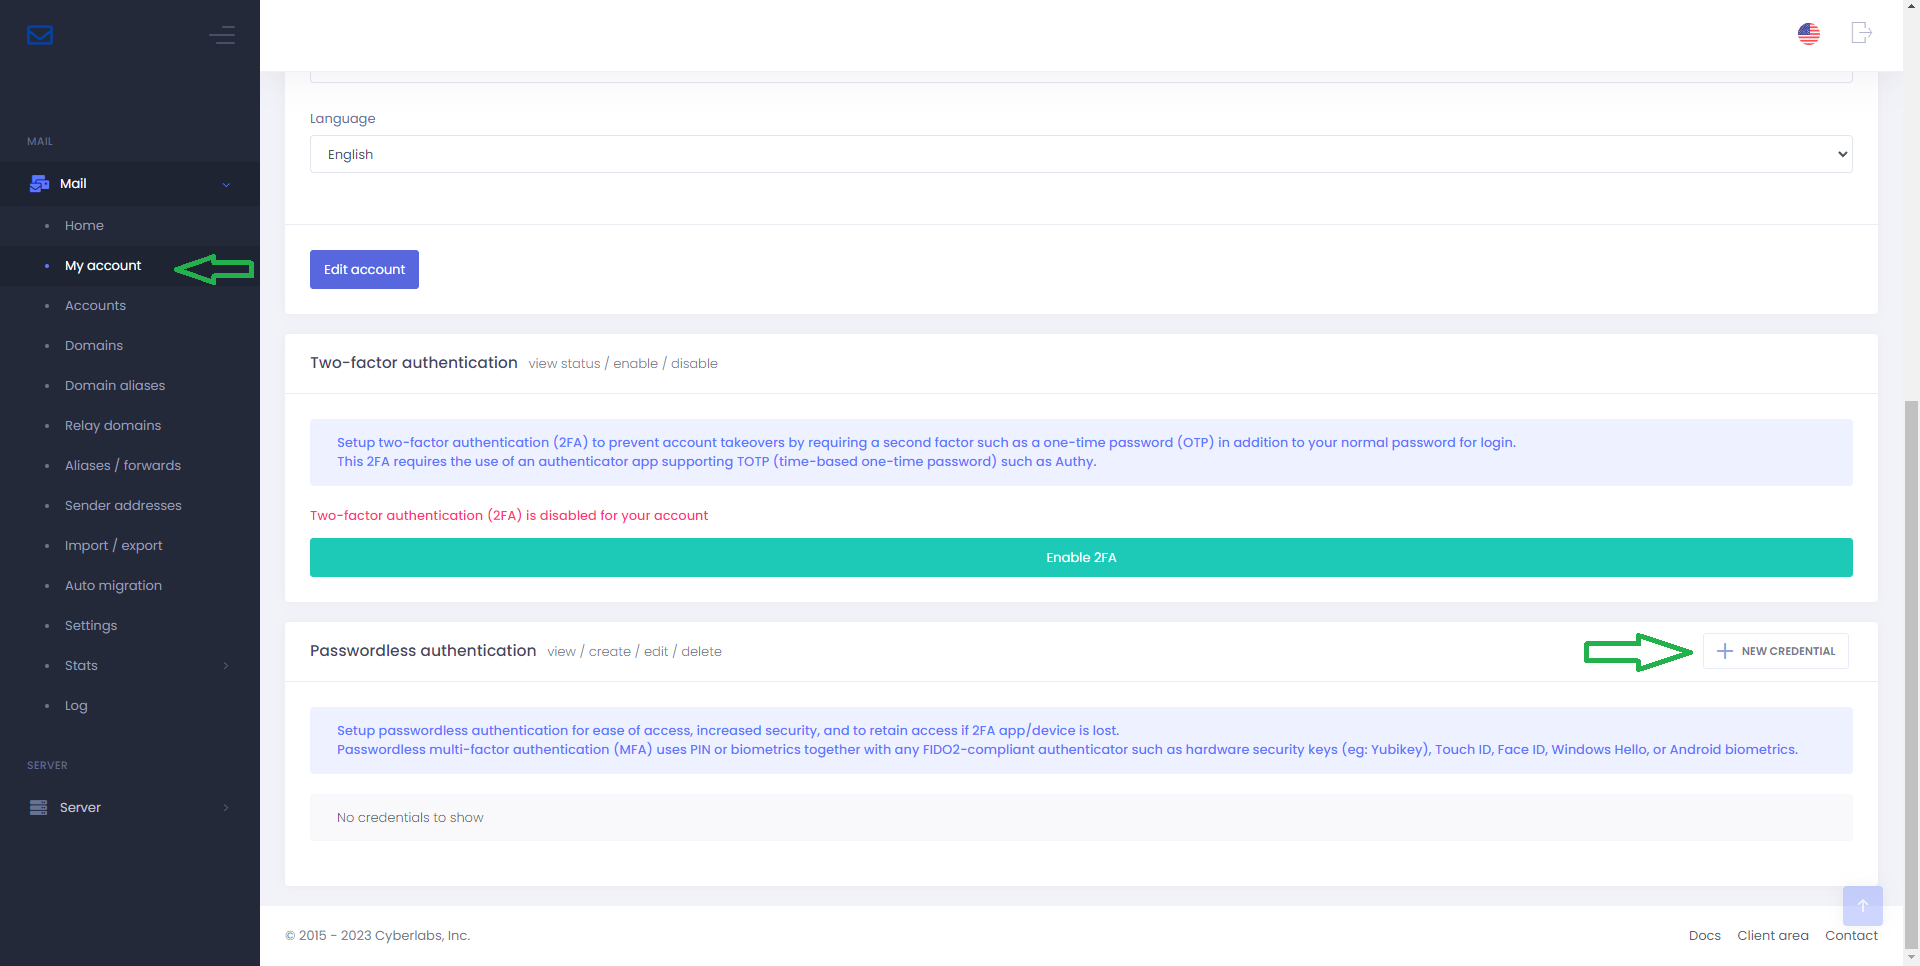
From the menu bar, select > My account > under section Passwordless authentication > press New credential
Step 2
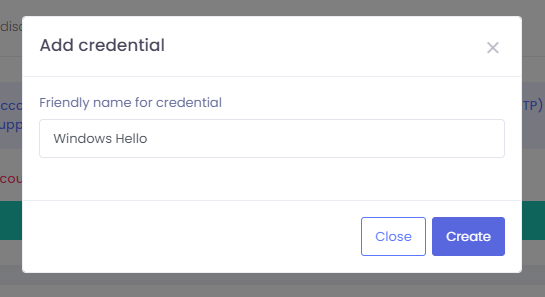
In the Add credential window, type in a name/identifier for this credential.
Step 3
In the Create a passkey window, choose option Windows Hello or external security key
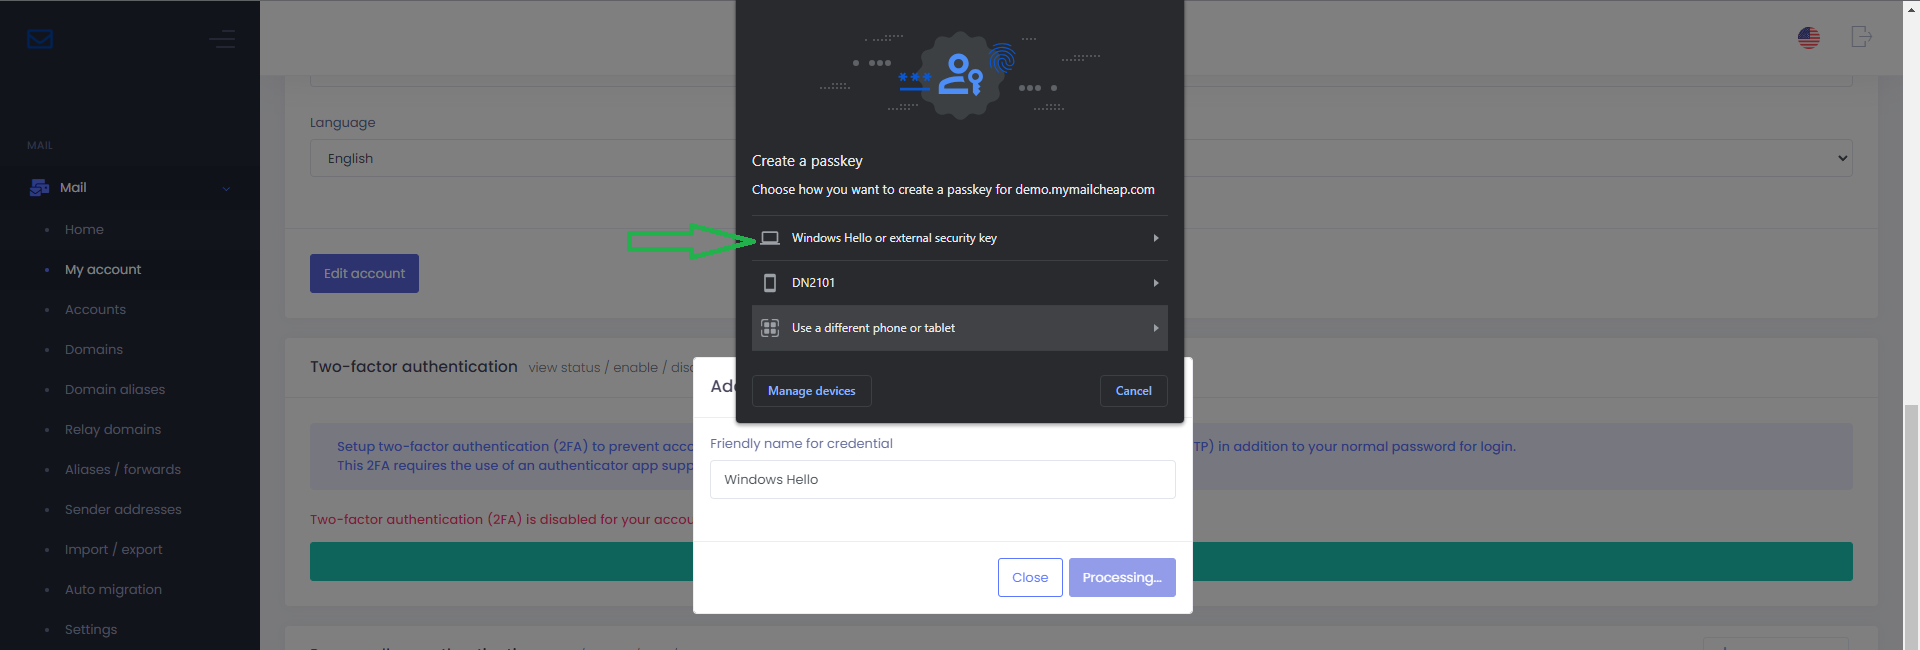
Step 4
In the Making sure it’s you window, type in your Windows Hello PIN.
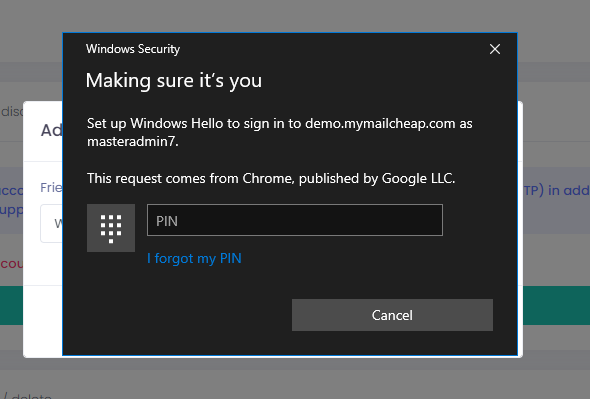
That’s it. Your Windows Hello credential should now show in the list of credentials registered for passwordless authentication.

Setup Yubikey
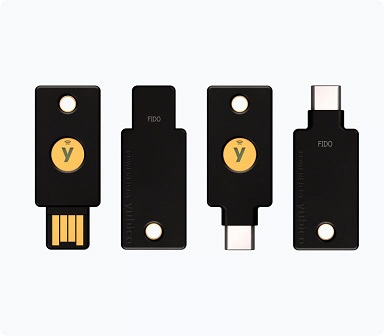
In this example, a Yubikey (hardware security key) credential will be registered for passwordless authentication on a PC running Windows 10 OS and Chrome v114 browser.
Step 1
From the menu bar, select > My account > under section Passwordless authentication > press New credential

Step 2
In the Add credential window, type in a name/identifier for this credential.
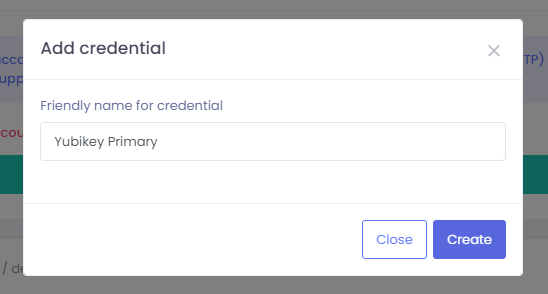
Step 3
In the Create a passkey window, choose option Windows Hello or external security key

Step 4
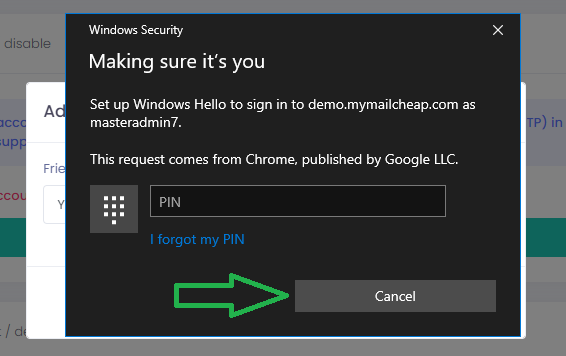
In the Making sure it’s you window, press Cancel to exit Windows Hello registration and to proceed with security key registration.
Step 5
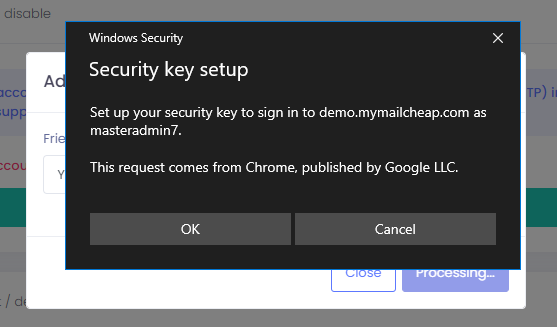
In the Security key setup window, press OK
Step 6
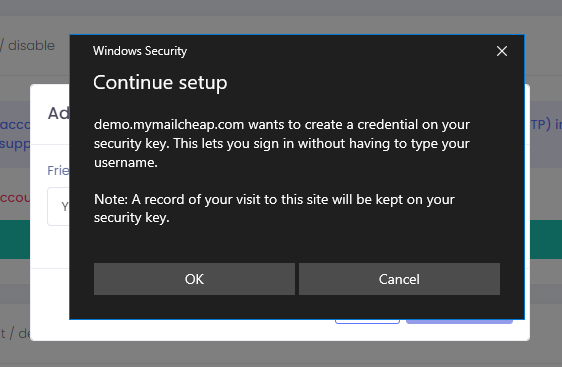
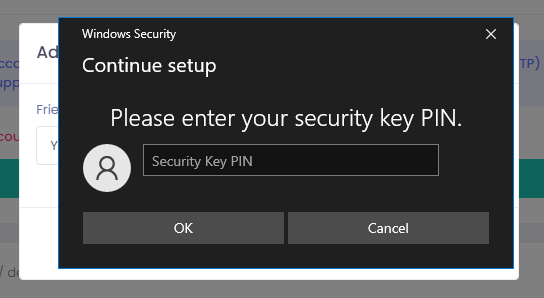
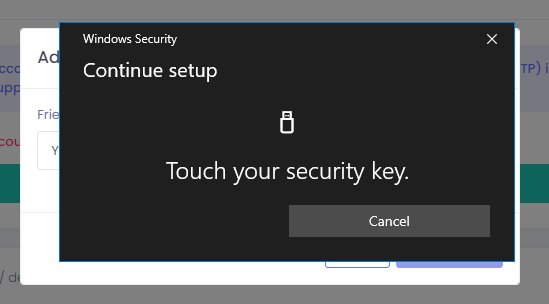
In the Continue setup window, press OK, enter your security key PIN, and physically touch your security key.
| Fig.1 | Fig. 2 | Fig. 3 |
|---|---|---|
 |
 |
 |
That’s it. Your security key credential should now show in the list of credentials registered for passwordless authentication.

Setup Android passkey
In this example, a passkey will be created on a mobile device running Android 12 OS from a PC running Windows 10 OS and Chrome v114 browser. This demonstrates cross-device registration and can be used for cross-device authentication. The two devices have Bluetooth connectivity enabled for communication.
Step 1
From the menu bar, select > My account > under section Passwordless authentication > press New credential

Step 2
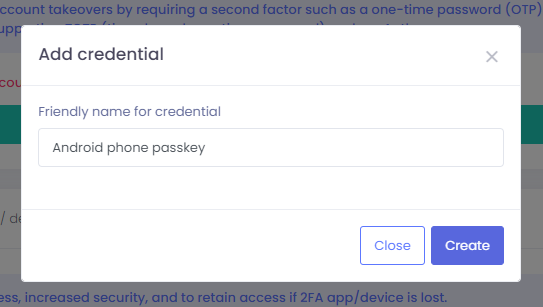
In the Add credential window, type in a name/identifier for this credential.
Step 3
In the Create a passkey window, choose option corresponding to your mobile device’s name. In this example, it is DN2101

Step 4
The browser will then prompt you to check your phone’s notification.

Step 5
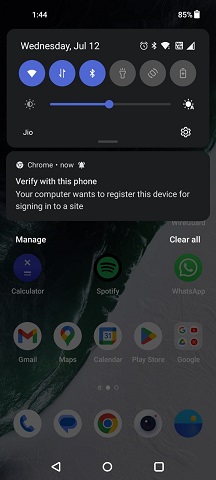
Open your phone’s notifications drawer and press the relevant notification from Chrome for registering new credential.
Step 6
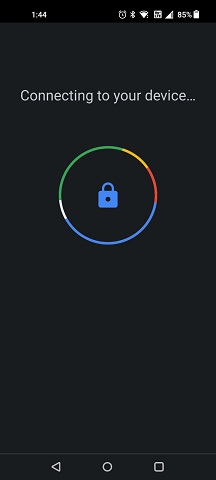
Wait for your phone to establish a Bluetooth connection to your PC.
Step 7
In the Create a passkey window on your phone, press Continue
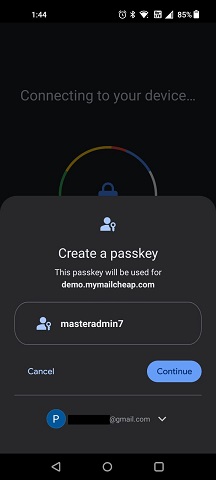
That’s it. Your Android passkey/credential should now show in the list of credentials registered for passwordless authentication.

Split domain routing (SDR)
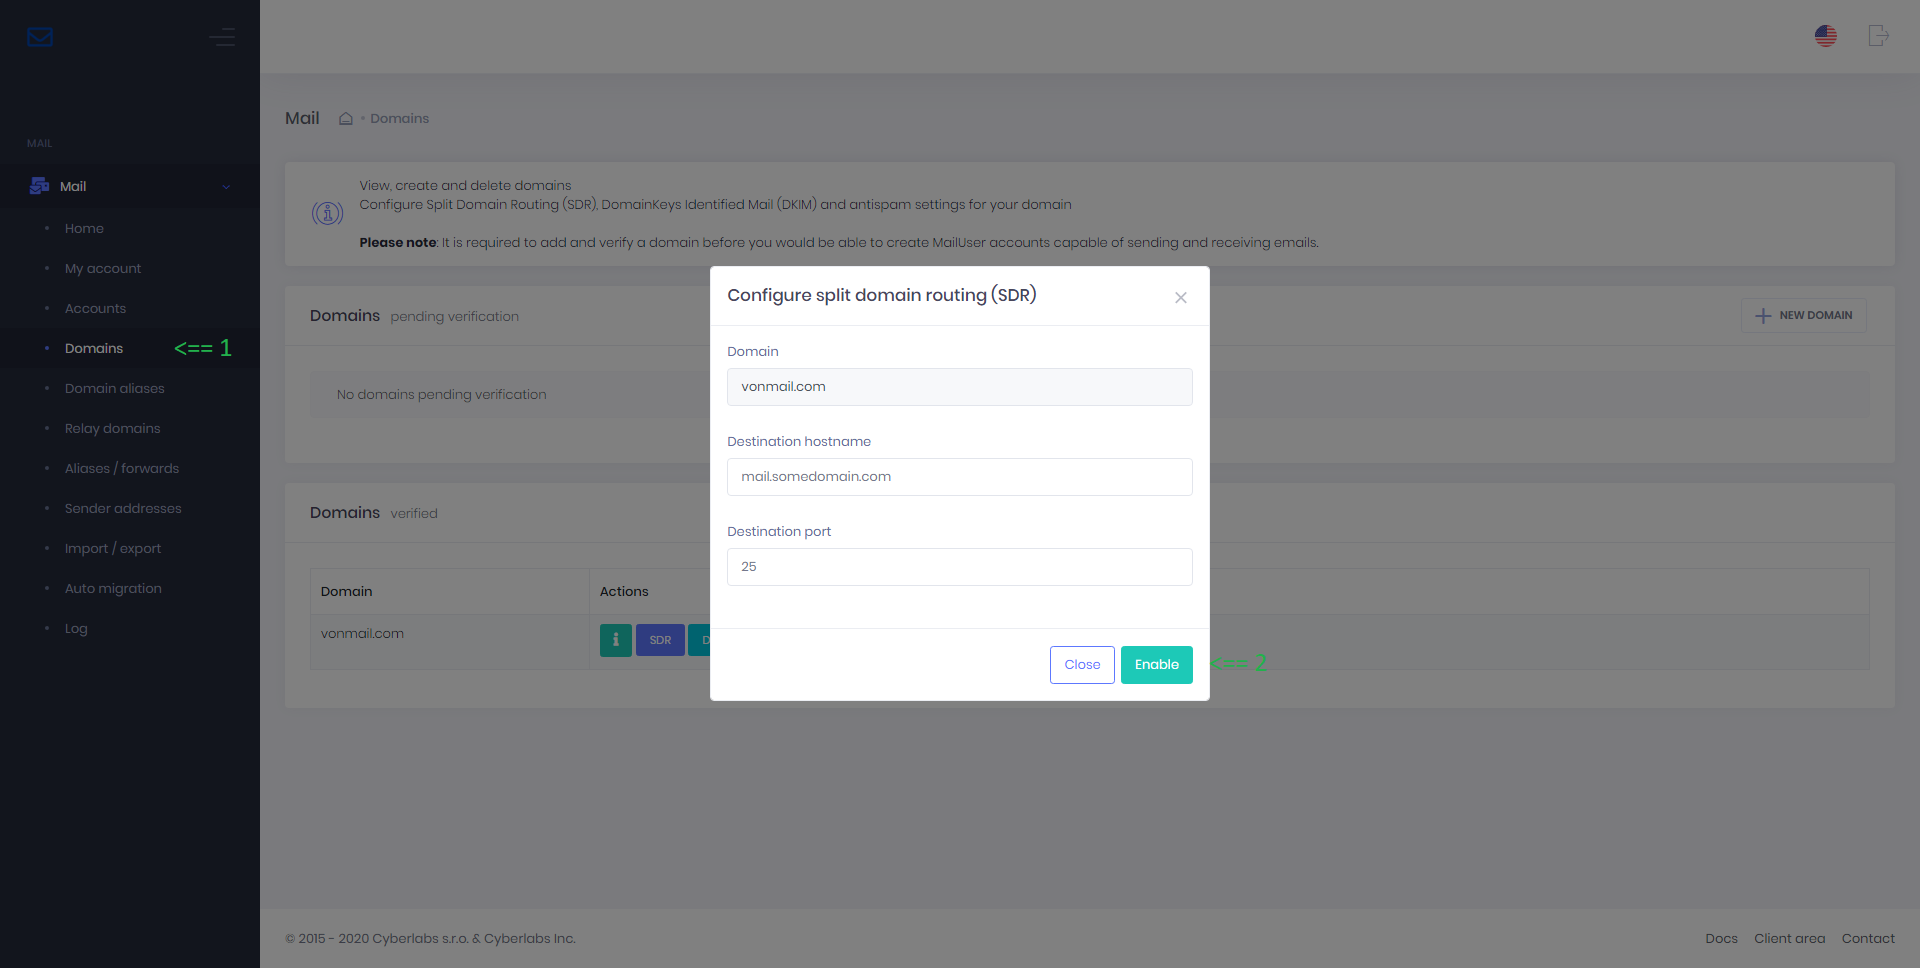
Split domain routing (SDR) enables you to host mail for a single domain on multiple servers (or services, Mailcheap / third-party). When SDR is set up for a domain at server A (with MX pointed to server A), server A would receive mails for all users of that domain and deliver to mailboxes hosted on server A and then relay the rest to another destination server B where mails are then delivered to mailboxes hosted on server B.
To enable / disable SDR, go to Domains > Actions > SDR
Antispam thresholds (per-domain)
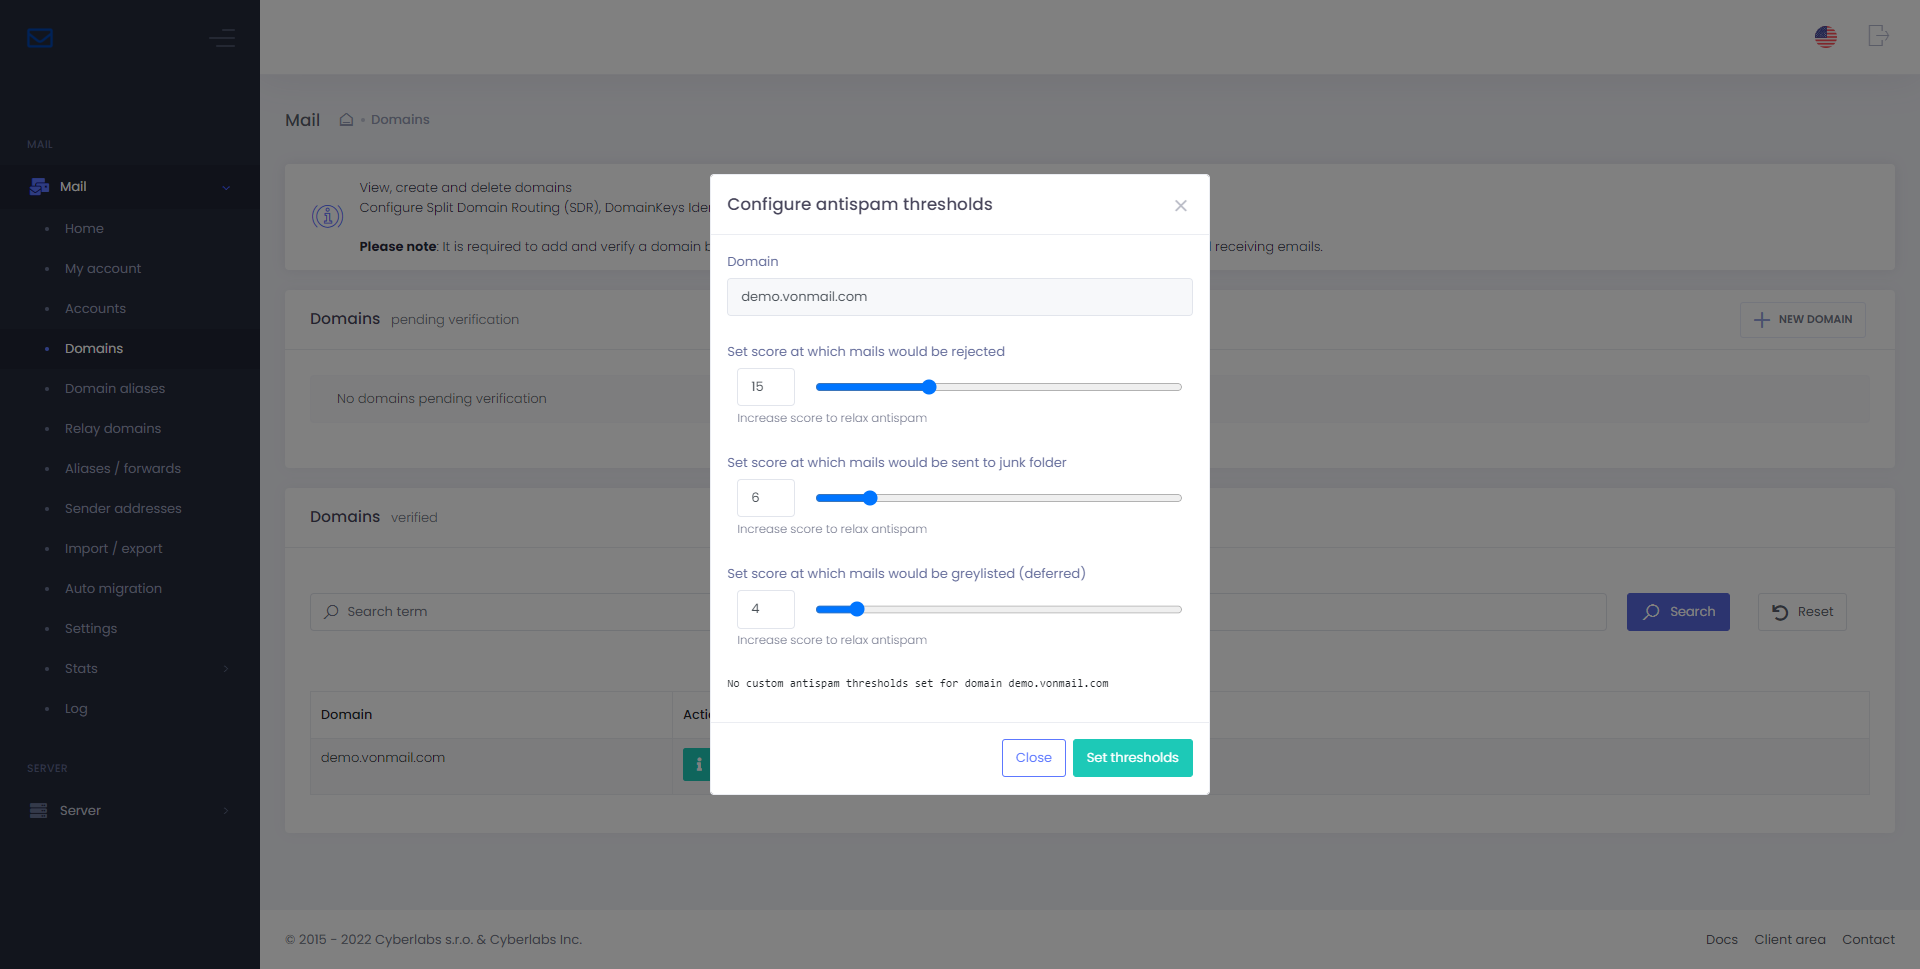
It is possible to set custom antispam thresholds (scores at which mails would be rejected, sent to junk folder, or deferred) for each domain that would override any global antispam thresholds.
To set / update / reset custom thresholds for your domain, go to Domains > Actions > Antispam thresholds
The default scores are as below:
- Reject mail:
15 - Add
X-Spamheader and send mail to junk folder:6 - Defer (greylist) mail:
4
The scores for each of your email messages can be seen by inspecting its headers, where higher scores indicate more spamminess. You may experiment by changing the above default values to suit your requirements, but as a rule of thumb the scores should be in order: defer < add header < reject
Order of precedence for antispam thresholds: per-domain > global.
Tip
Increasing the score would relax the antispam, with the maximum score value of 999 effectively disabling antispam.
Whitelist & blacklist senders (per-domain)
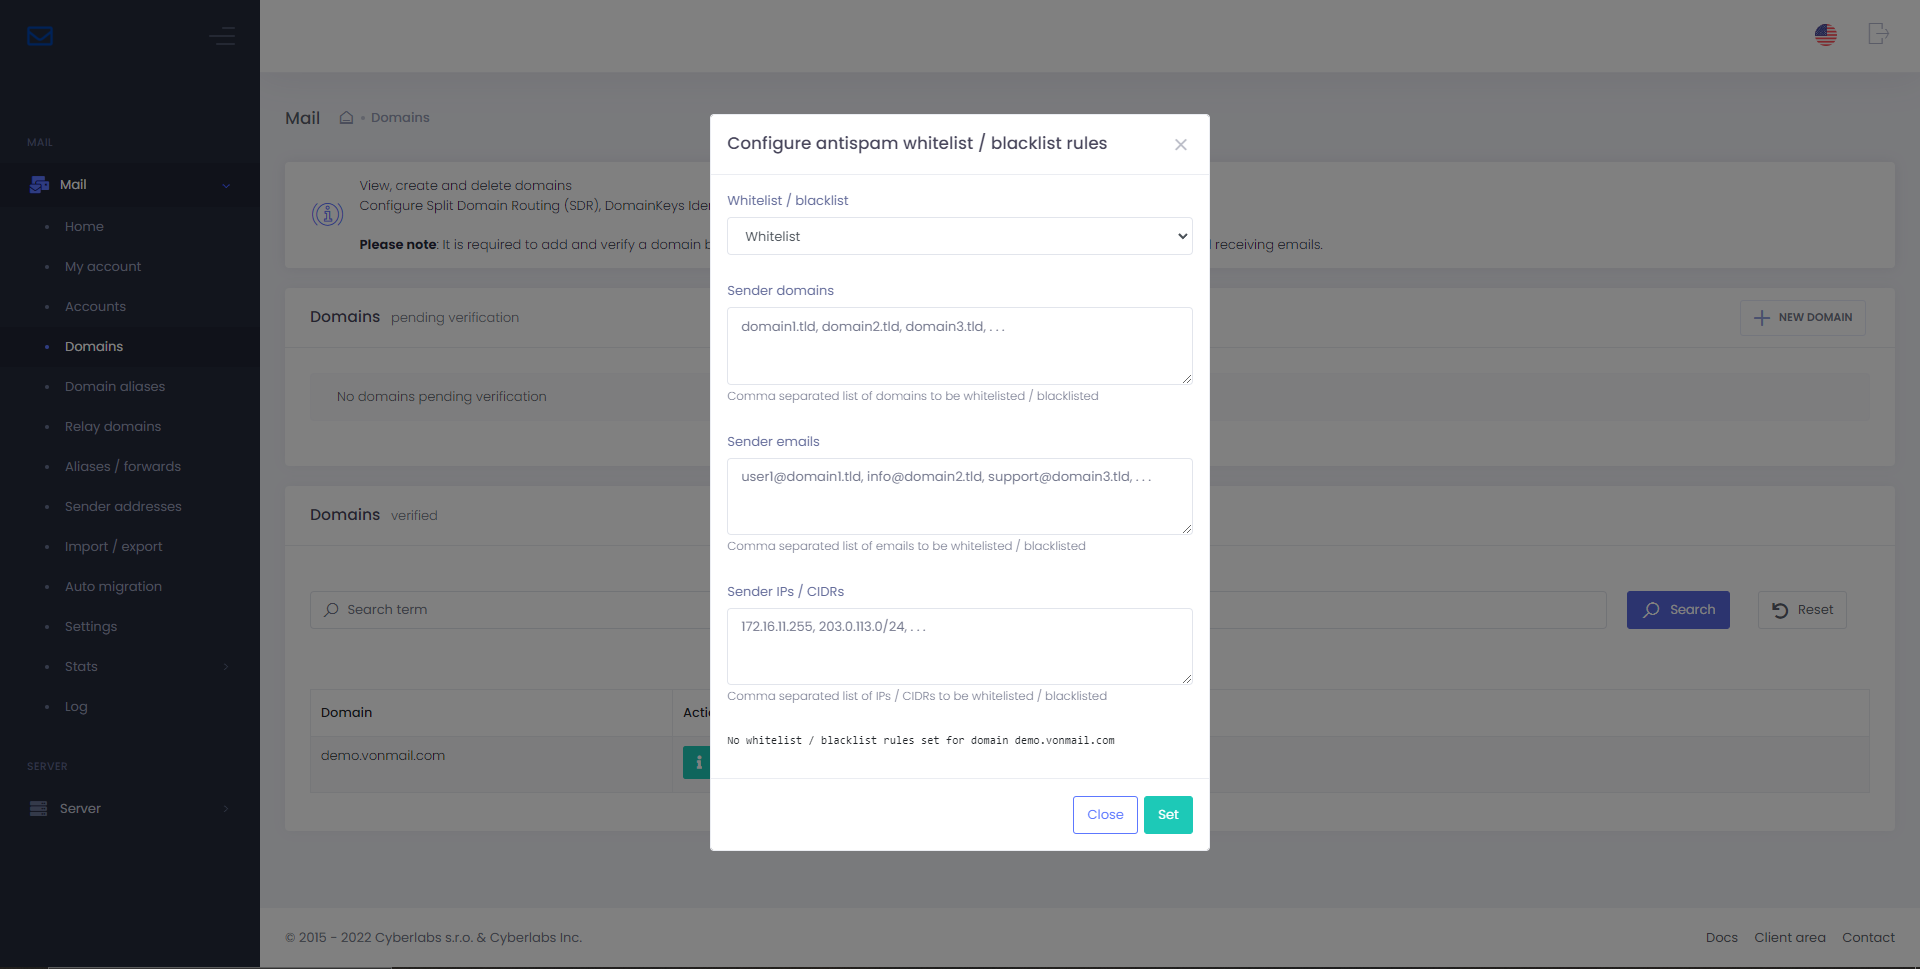
It is possible to whitelist or blacklist senders for each of your domains based on sender domain, email, and IP/CIDR.
Whitelisting/blacklisting a sender domain would automatically apply to all its subdomains as well. Per-domain whitelist/blacklist is applied against MIME From (From address/header).
Whitelist rules have precedence over blacklist rules, enabling you to receive mails from only pre-approved whitelisted senders while blacklisting everyone else (use CIDR netblocks).
To set / update / reset custom whitelist & blacklist rules for your domain, go to Domains > Actions > Antispam WL / BL
Order of precedence for antispam whitelist/blacklist rules: global > per-domain. Per-domain rules can be overridden by MailUser(s) based on the one-click spam/ham learning component detailed here.
Caution
Whitelisting would allow spoofed messages purporting to be from that domain or email address through, use with extreme caution. It’s recommended to whitelist trusted IPs/CIDRs instead of domains.
Domain aliases
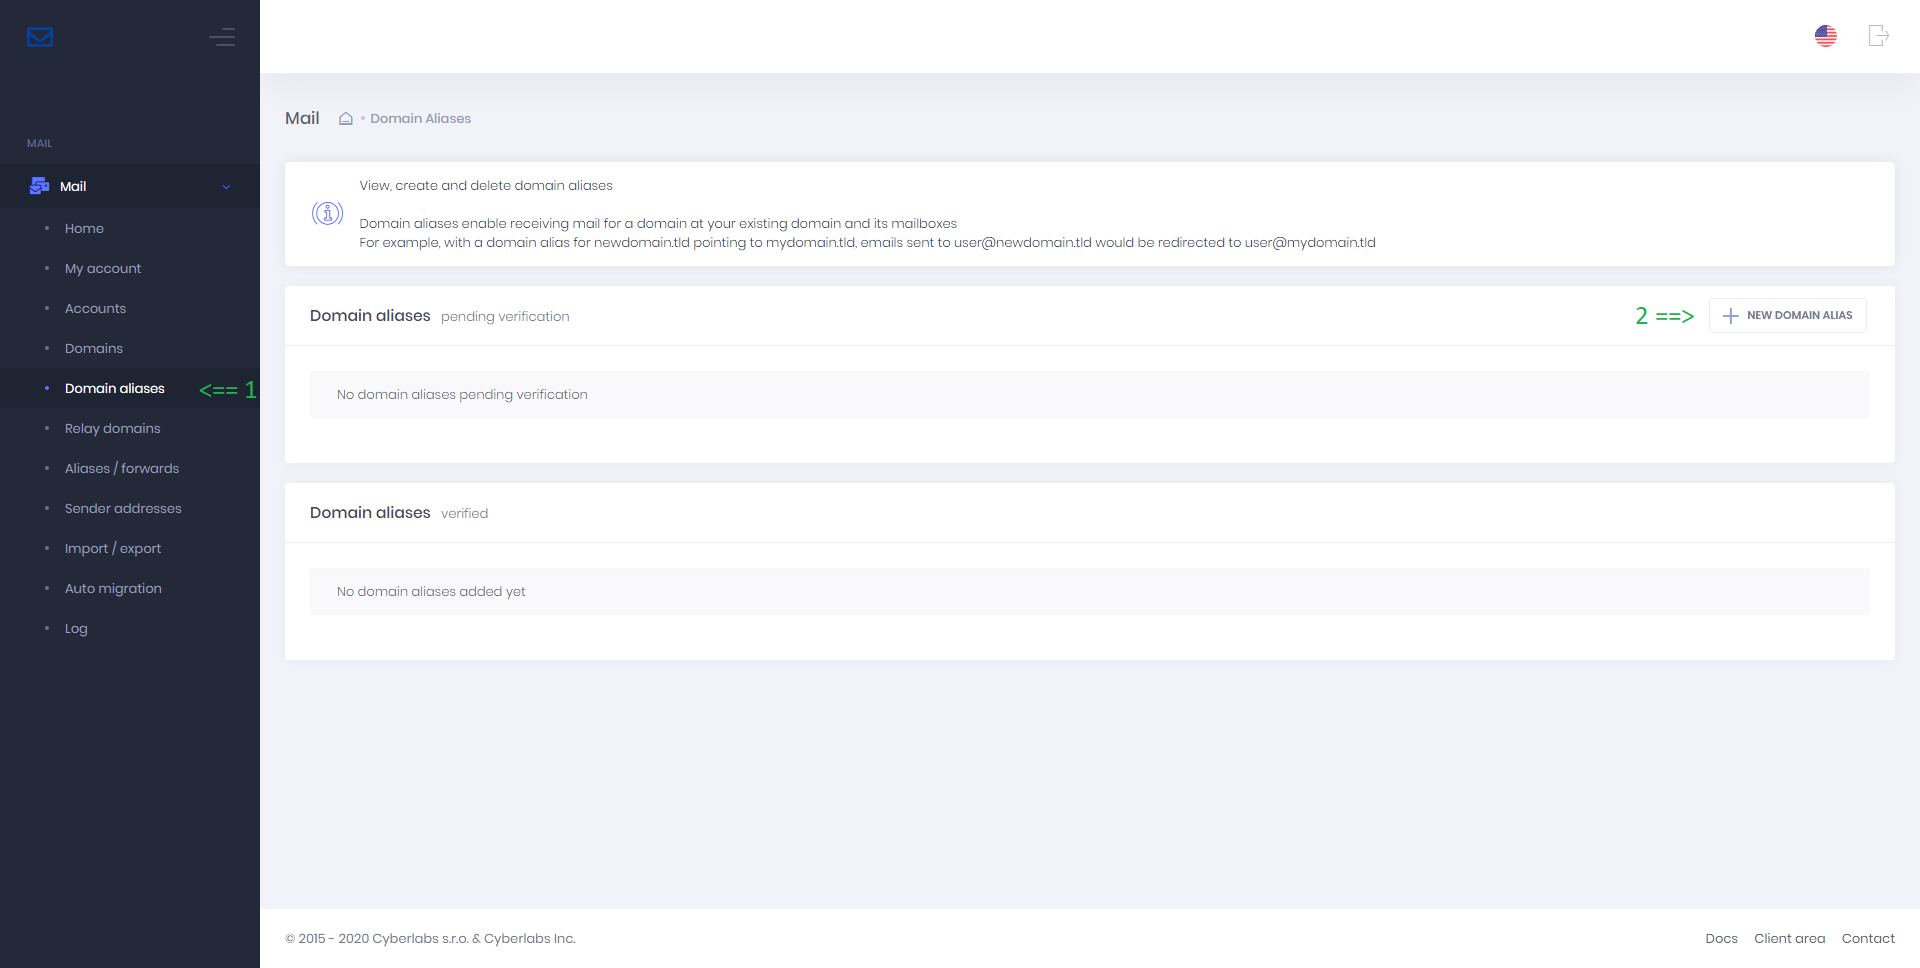
Domain aliases enable receiving mail for a domain at your existing domain and its mailboxes.
For example, with a domain alias for newdomain.tld pointing to mydomain.tld, emails sent to user@newdomain.tld would be redirected to user@mydomain.tld
To create a domain alias, go to Domain aliases > New domain alias and follow the on-screen prompts. Please note that domain aliases must also be verified using the same DNS TXT method used for verifying domains.
Relay domains
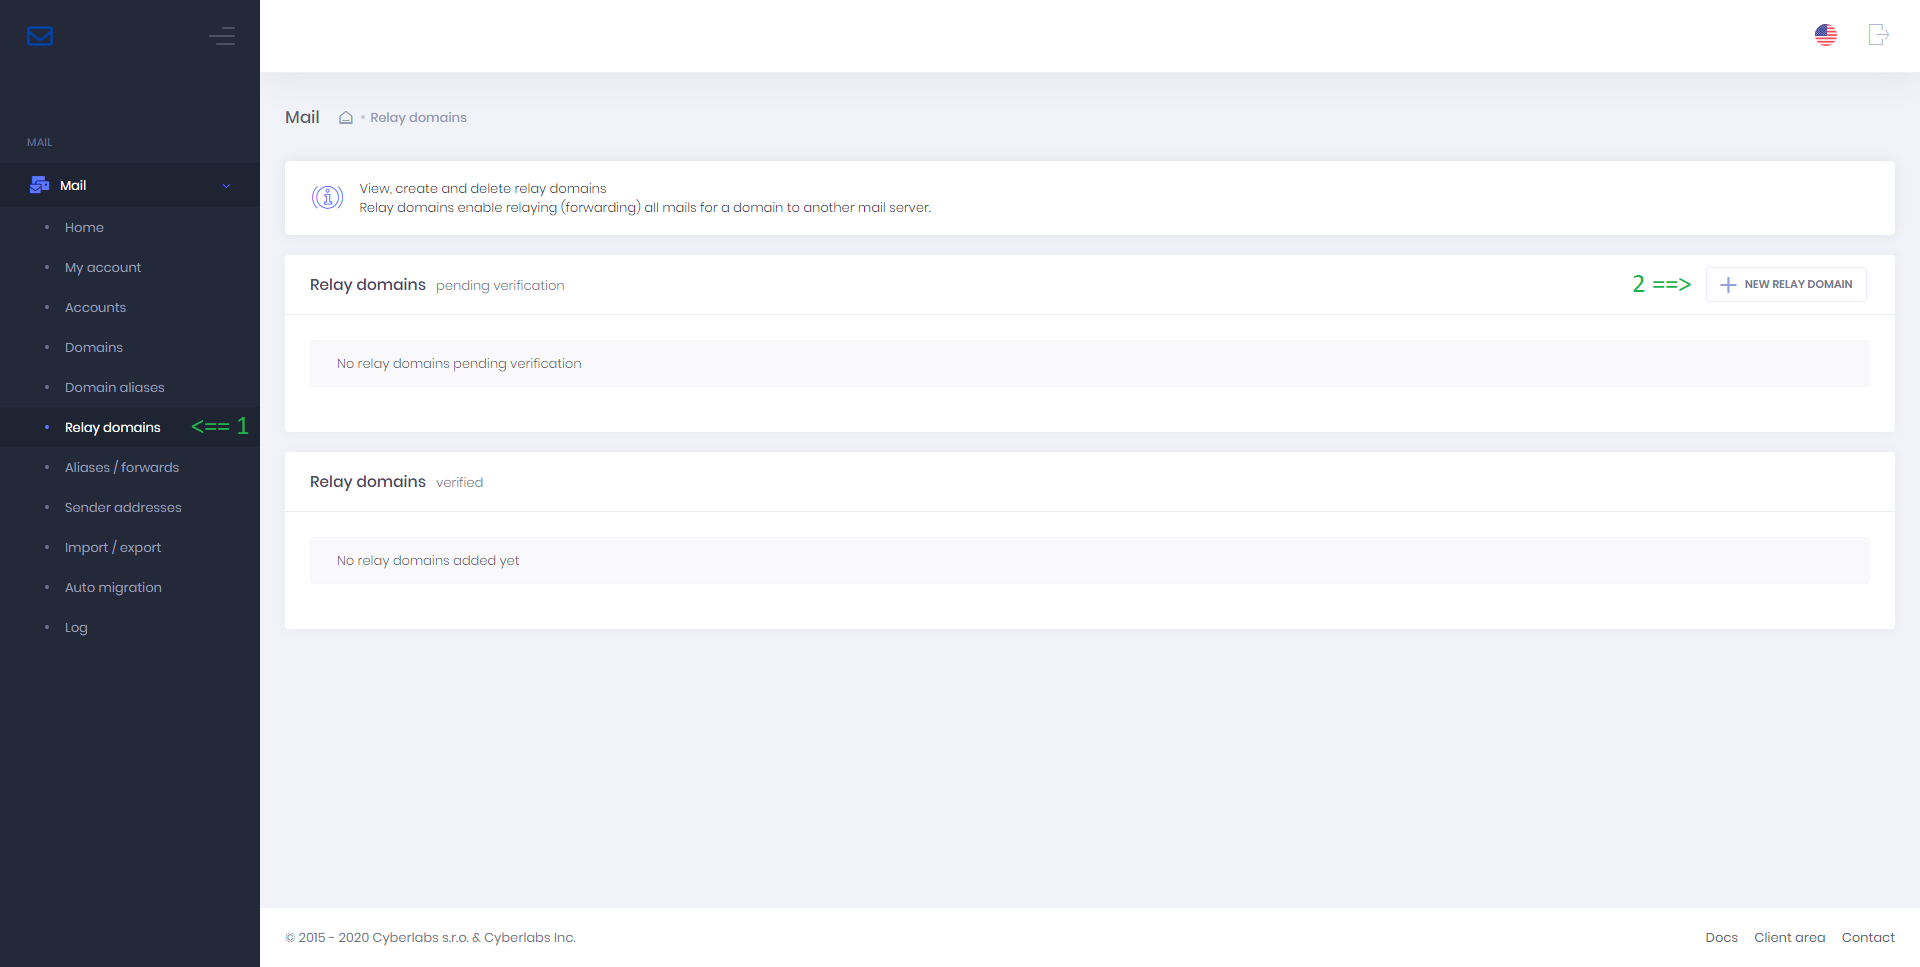
Relay domains enable relaying (forwarding) all mails for a domain to another mail server.
To create a relay domain, go to Relay domains > New relay domain and follow the on-screen prompts. Please note that relay domains must also be verified using the same DNS TXT method used for verifying domains.
Aliases
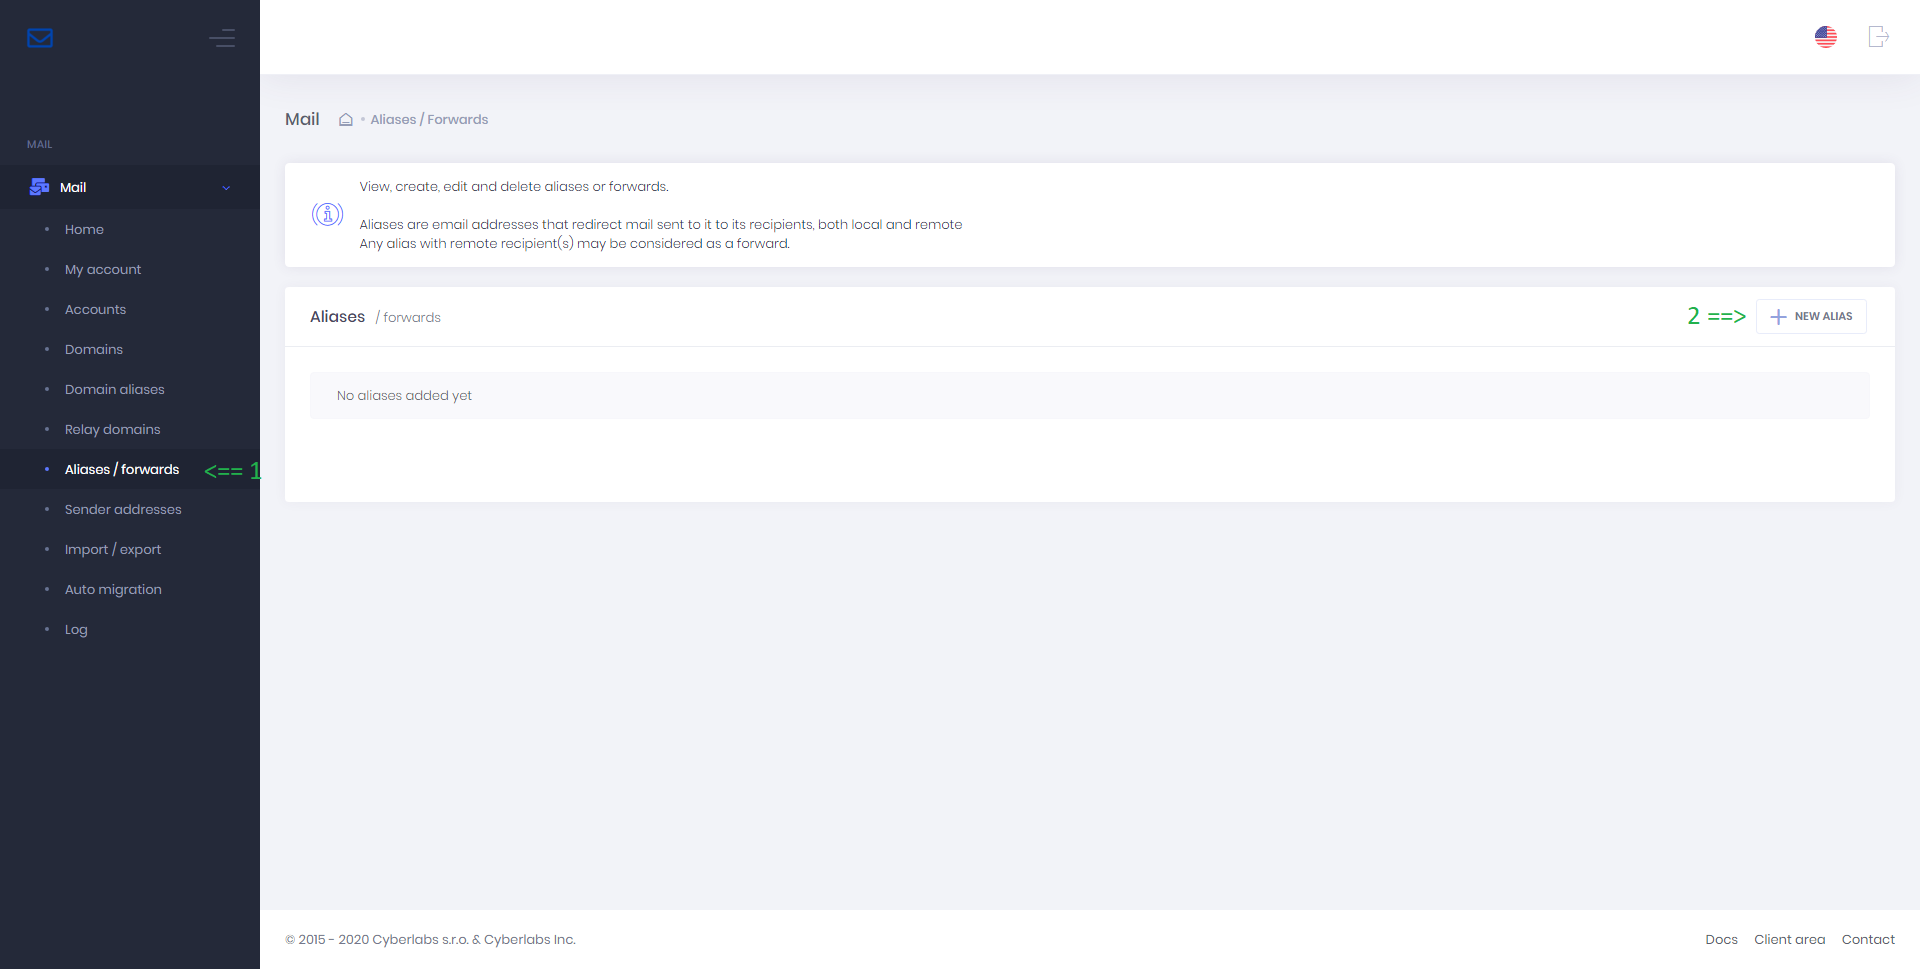
Aliases are email addresses that redirect mail sent to it to its recipients, both local and remote. Any alias with remote recipient(s) may be considered as a forward.
To create an alias/forward, go to Aliases / forwards > New alias and follow the on-screen prompts.
Caution
You can add a catch-all alias for the domain by entering an alias like @domain.tld in the Alias address field. Configuring a catch-all alias is discouraged as it accepts mail from spammers to non-existent addresses.
Tip
You may have noticed that it is not possible to create an alias with the same address as an existing MailUser (email account). An existing MailUser can forward mails to up to 4 addresses by using sieve filters as explained here.
Sender addresses
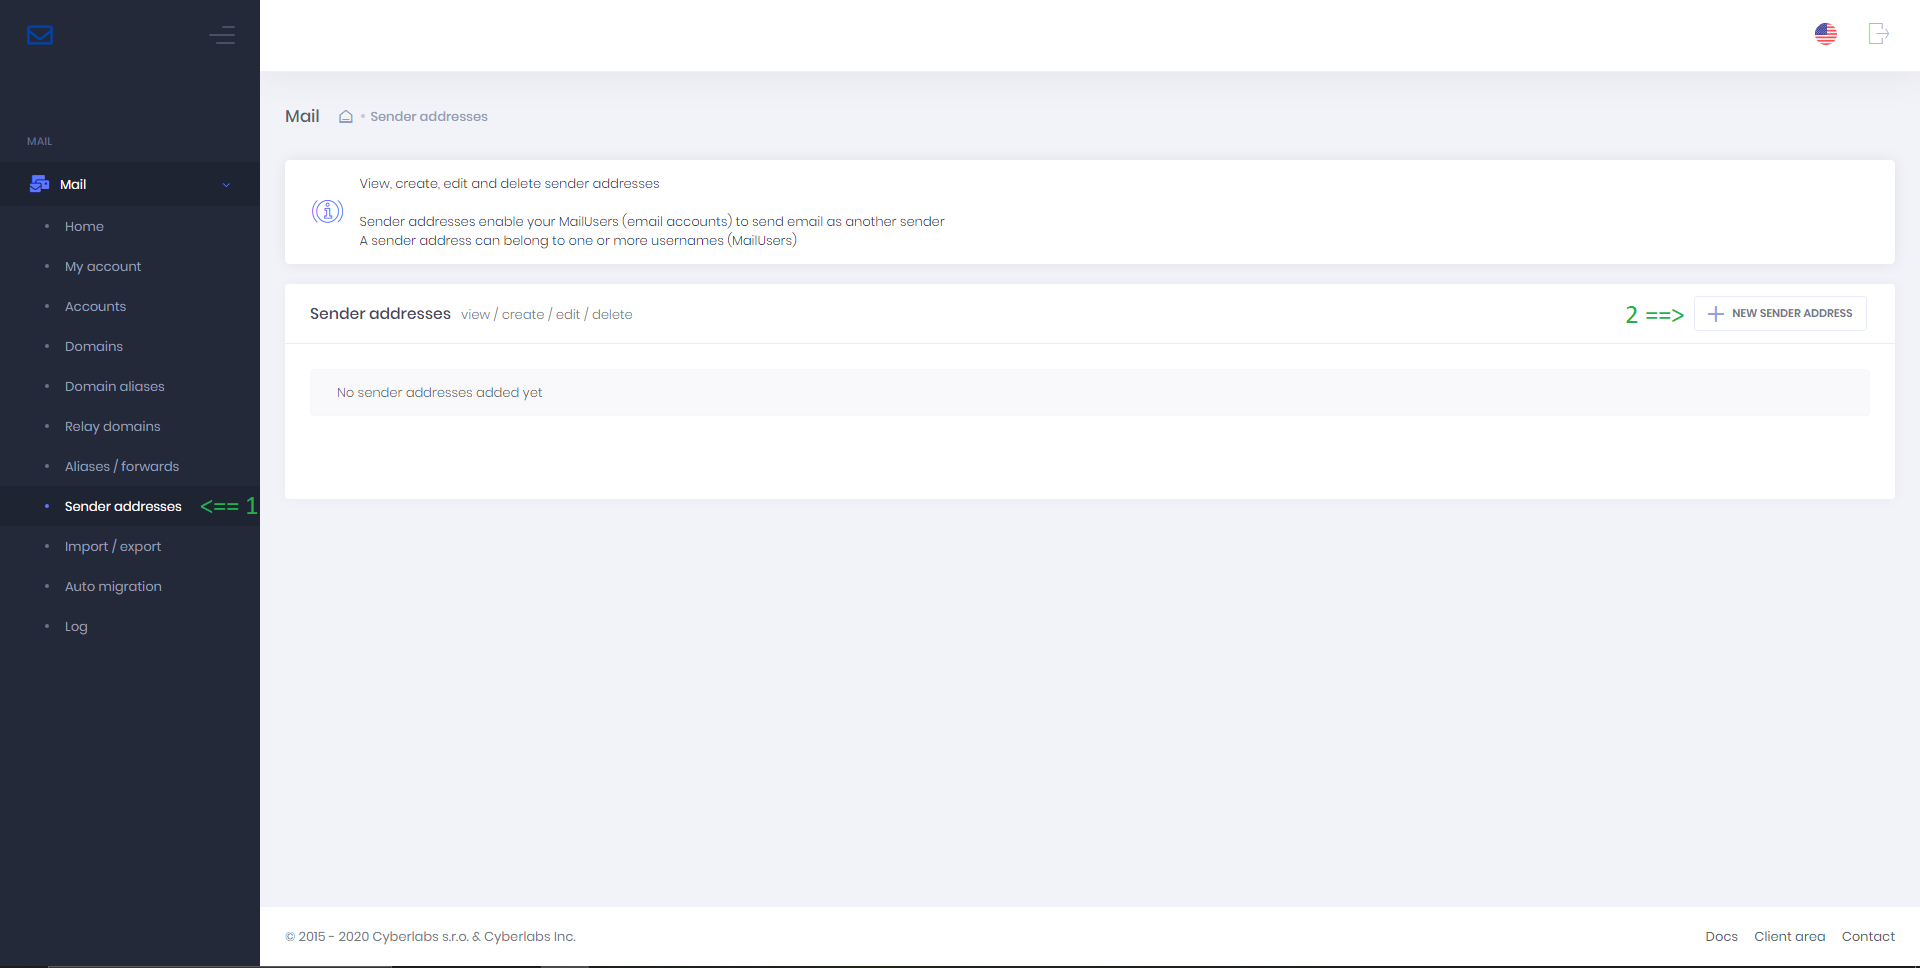
Sender addresses enable your MailUsers (email accounts) to send email as another sender. A sender address can belong to one or more usernames (MailUsers).
To create a sender address, go to Sender addresses > New sender address and follow the on-screen prompts.
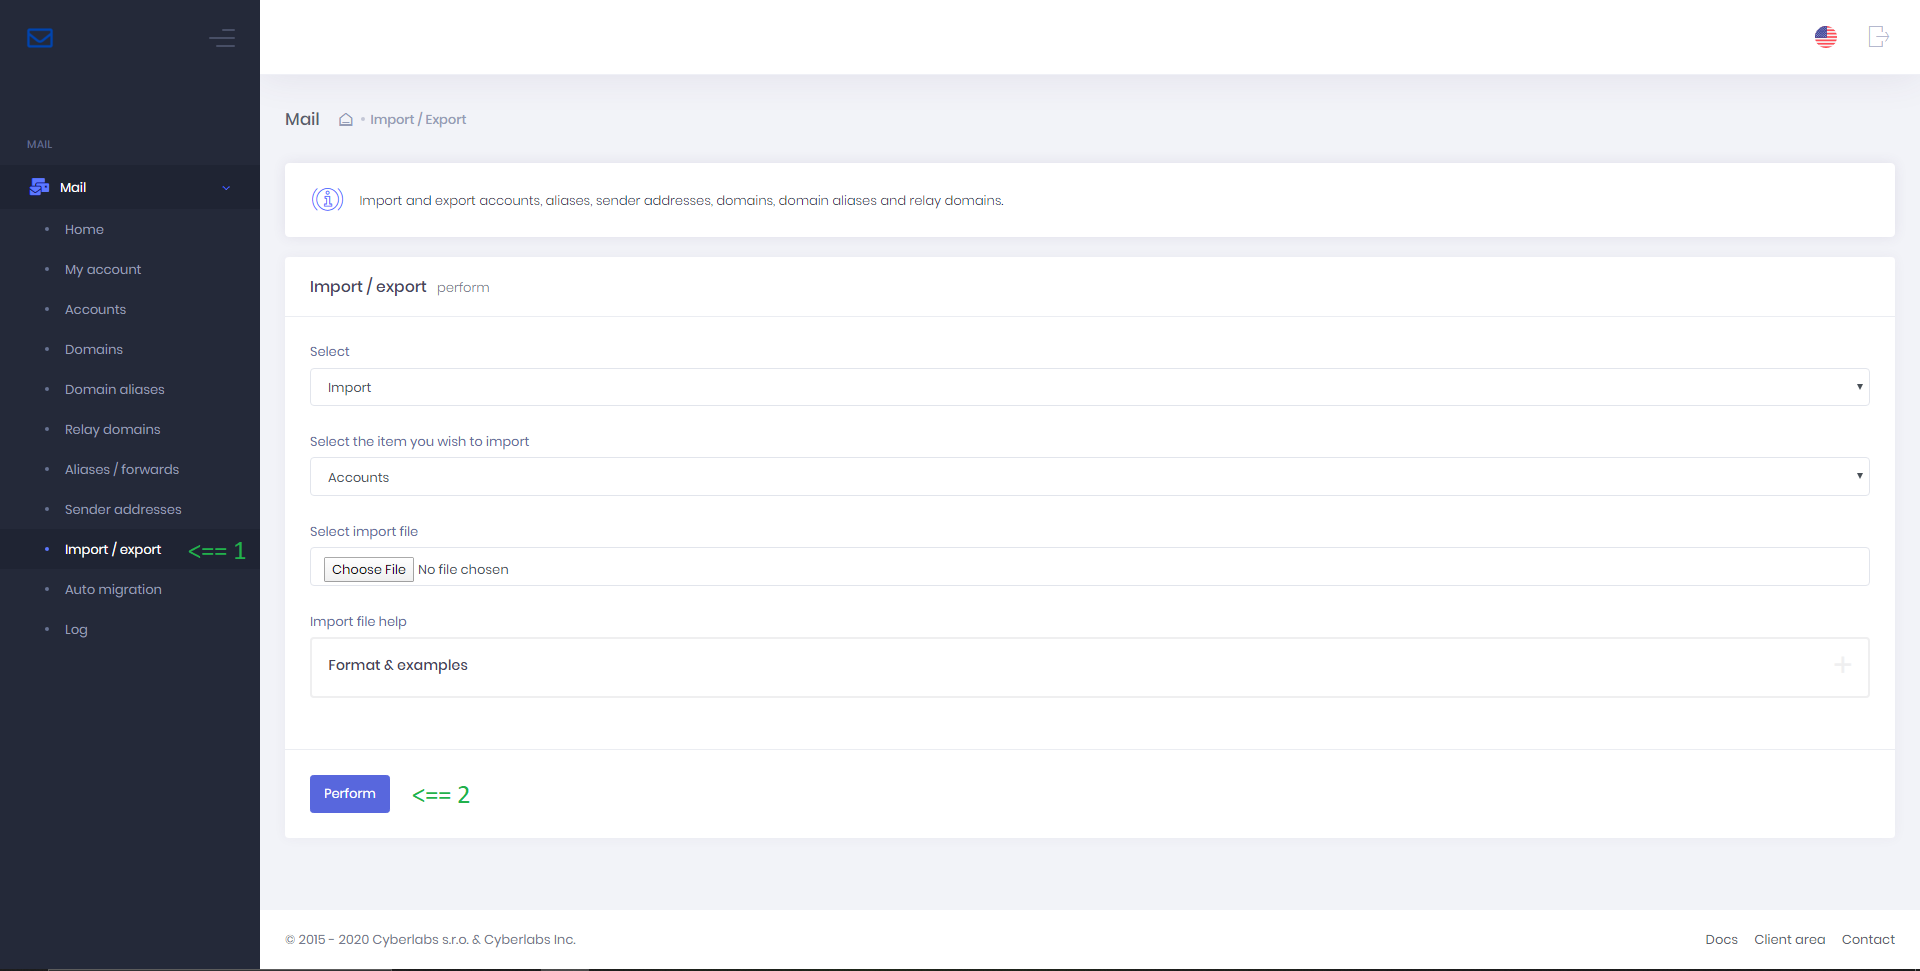
Import / export
It is possible to import / export accounts, aliases, sender addresses, domains, domain aliases and relay domains.
To import / export aforementioned items, go to Import / export and follow the on-screen prompts.
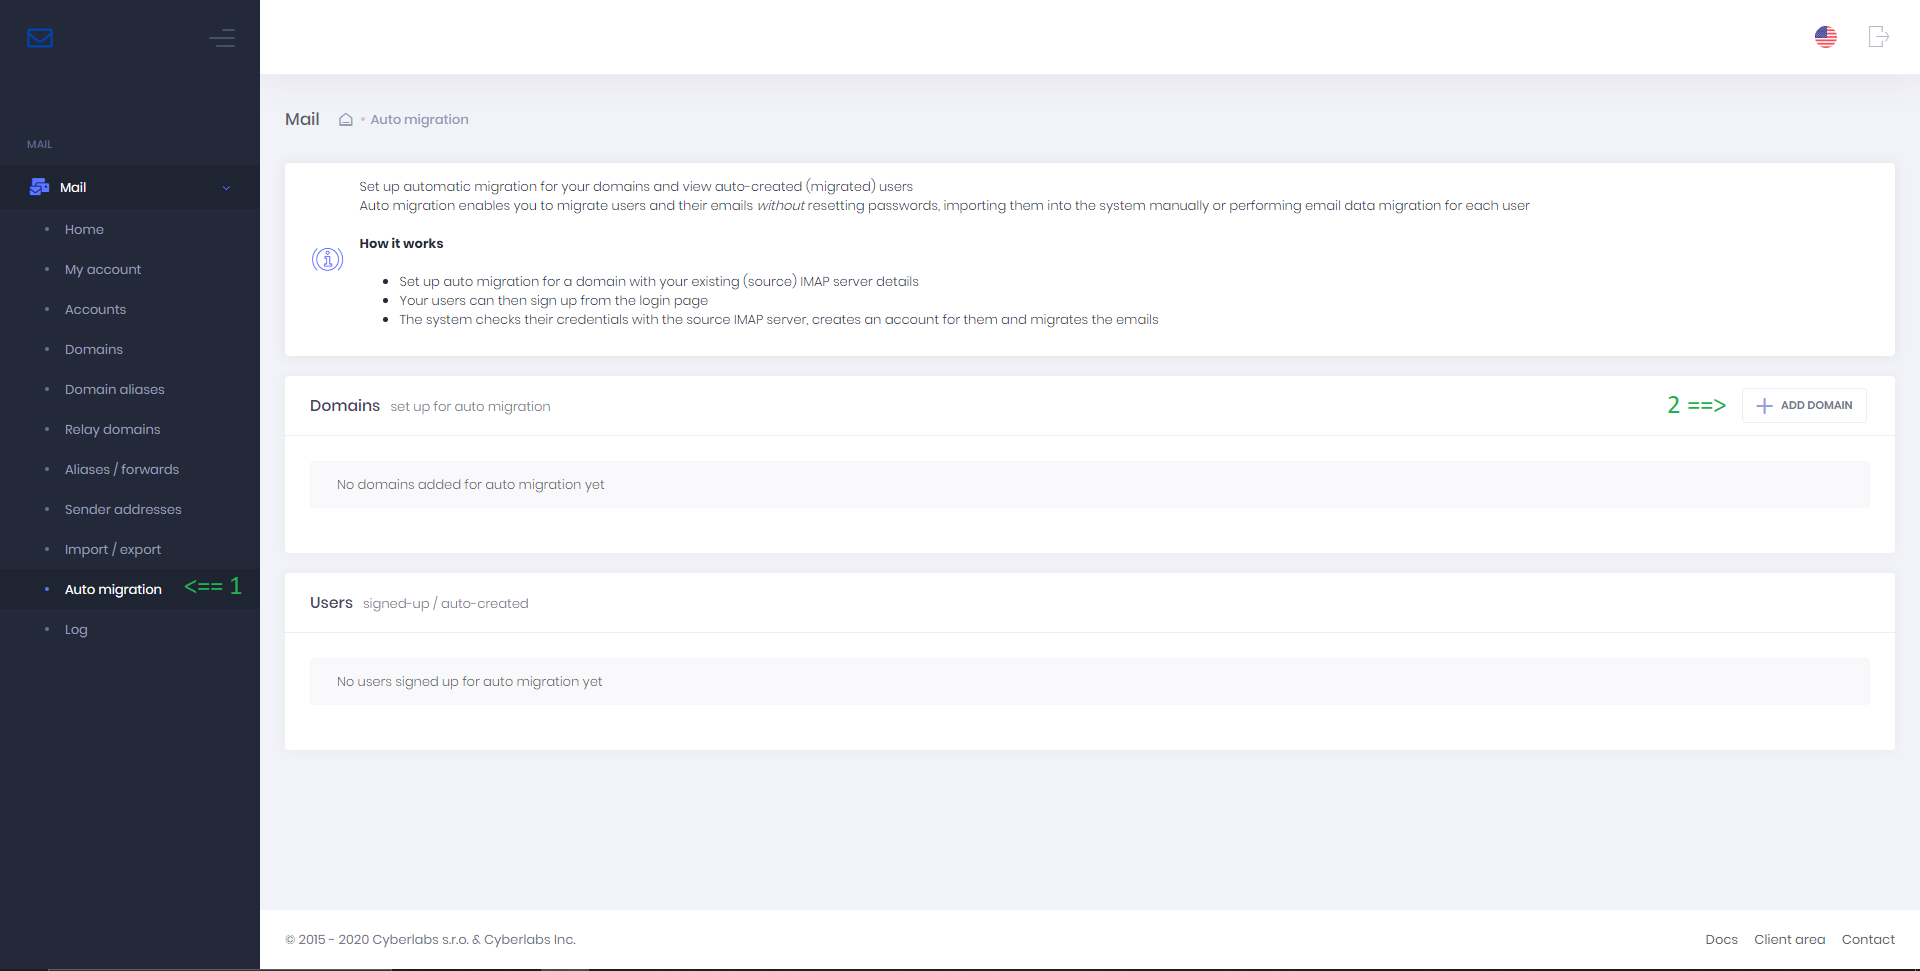
Auto migration
Auto migration enables you to migrate users and their emails without resetting passwords, importing them into the system manually or performing email data migration for each user.
How it works
- Set up auto migration for a domain with your existing (source) IMAP server details
- Your users can then sign up from the login page of your mailserver (top-right corner)
- The system checks their credentials with the source IMAP server, creates an account for them and migrates the emails
To set up automatic migration for a domain, go to Auto migration > Add domain and follow the on-screen prompts. For detailed information, see Migration help article.
Warning
If you have a Cloud/Dedicated server, please make sure to watch the load averages from Server > Usage metrics so as not to put undue load on the server which may cause service disruption and loss of data.
Migrate users incrementally when performing migration for a large userbase if you’re unsure the server can handle the load.
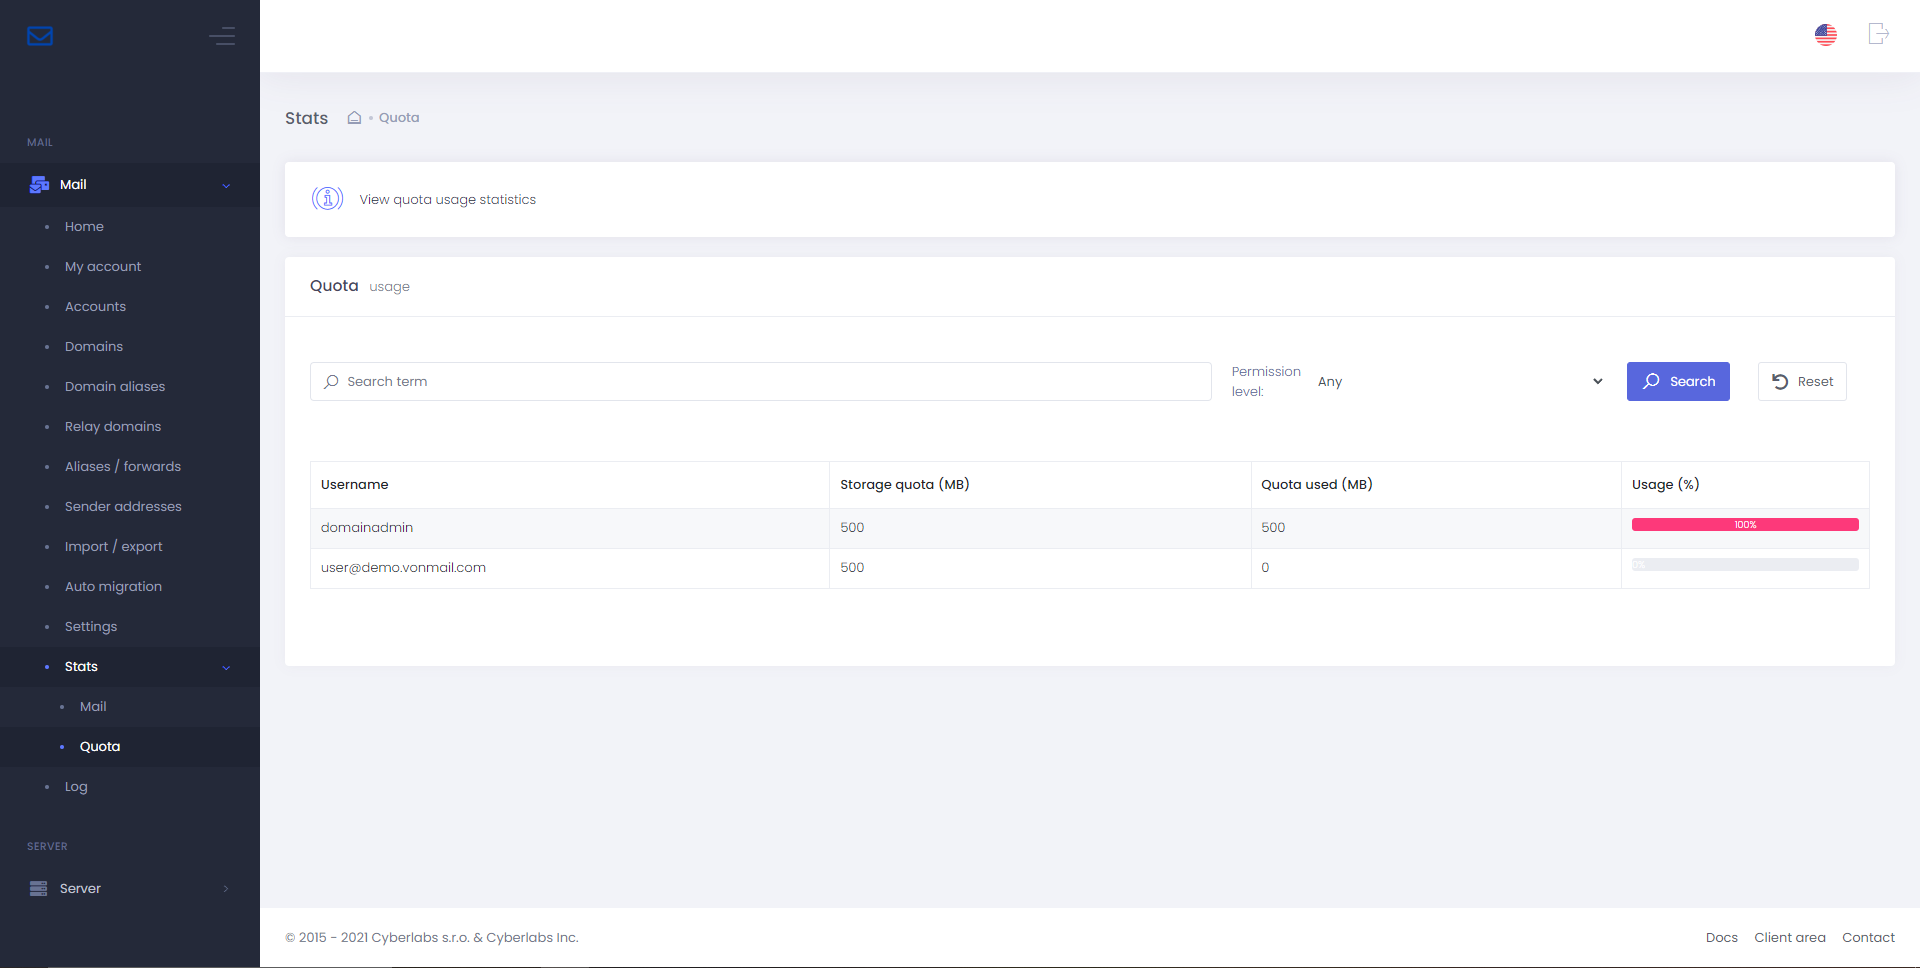
Quota usage stats
View quota usage statistics for accounts administered by MasterAdmin and DomainAdmin, from Stats > Quota
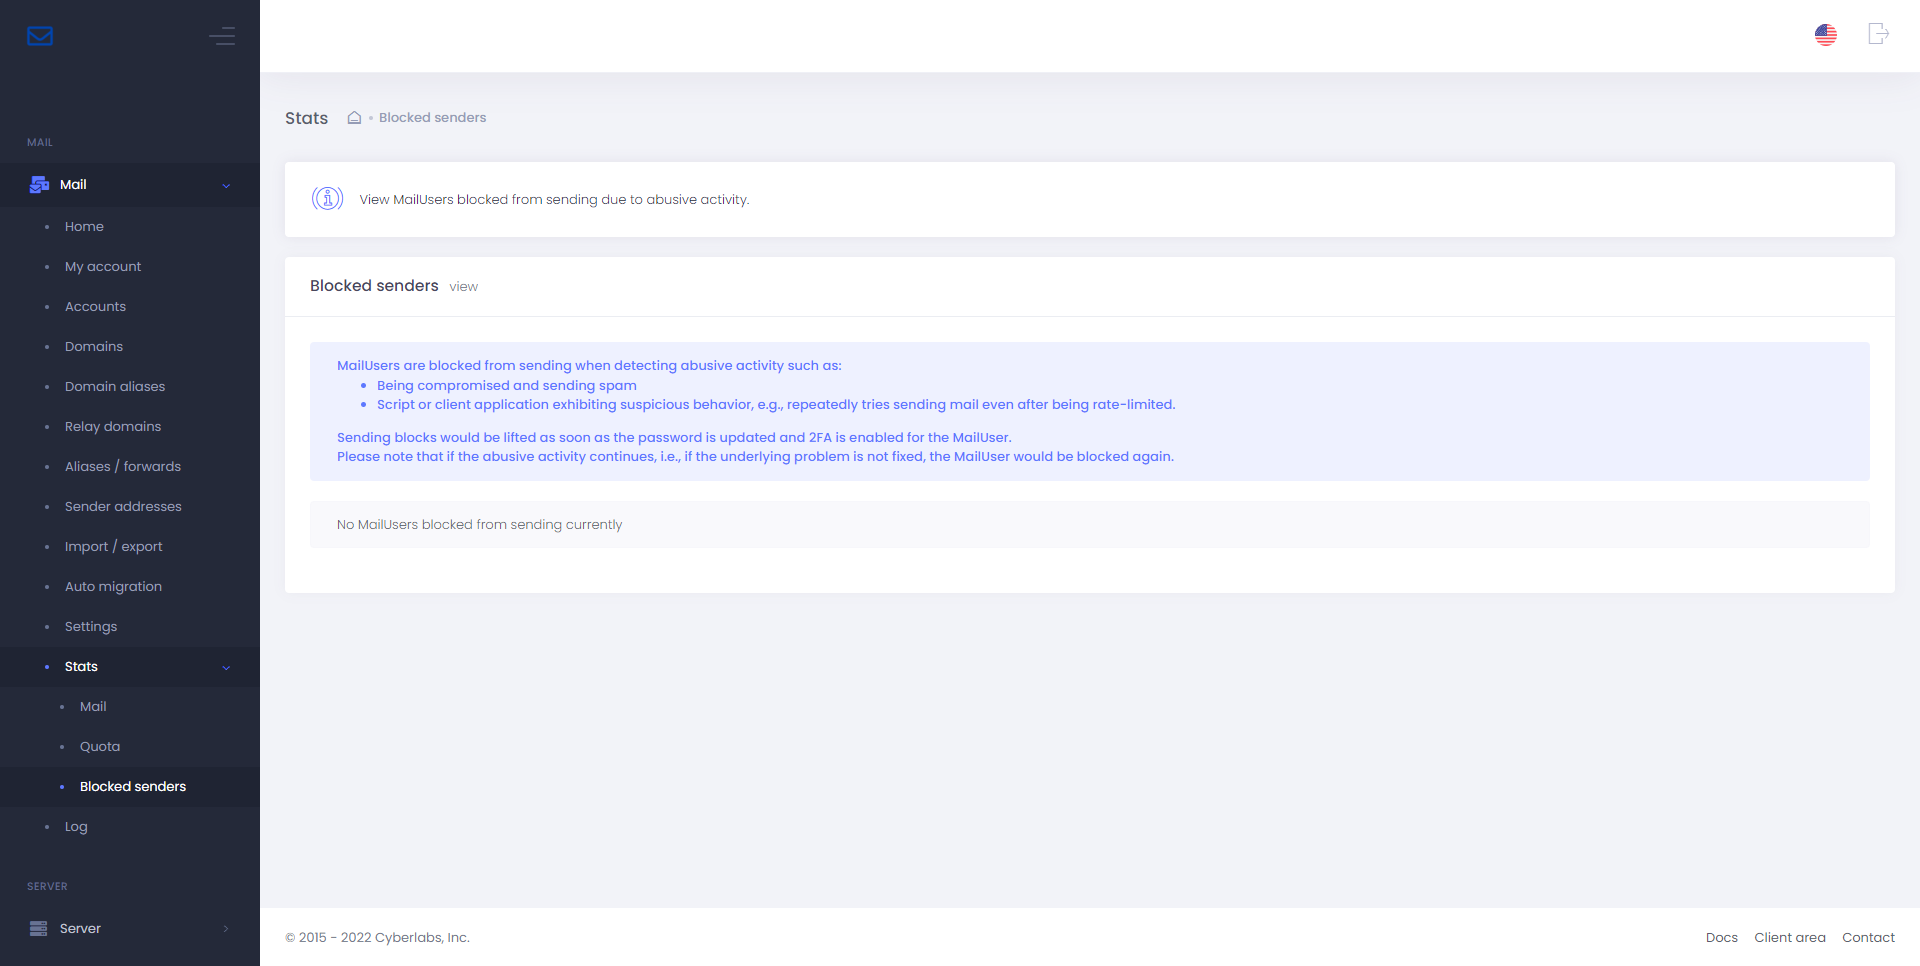
Blocked sender stats
View MailUsers blocked from sending due to abuse by navigating to Stats > Blocked senders
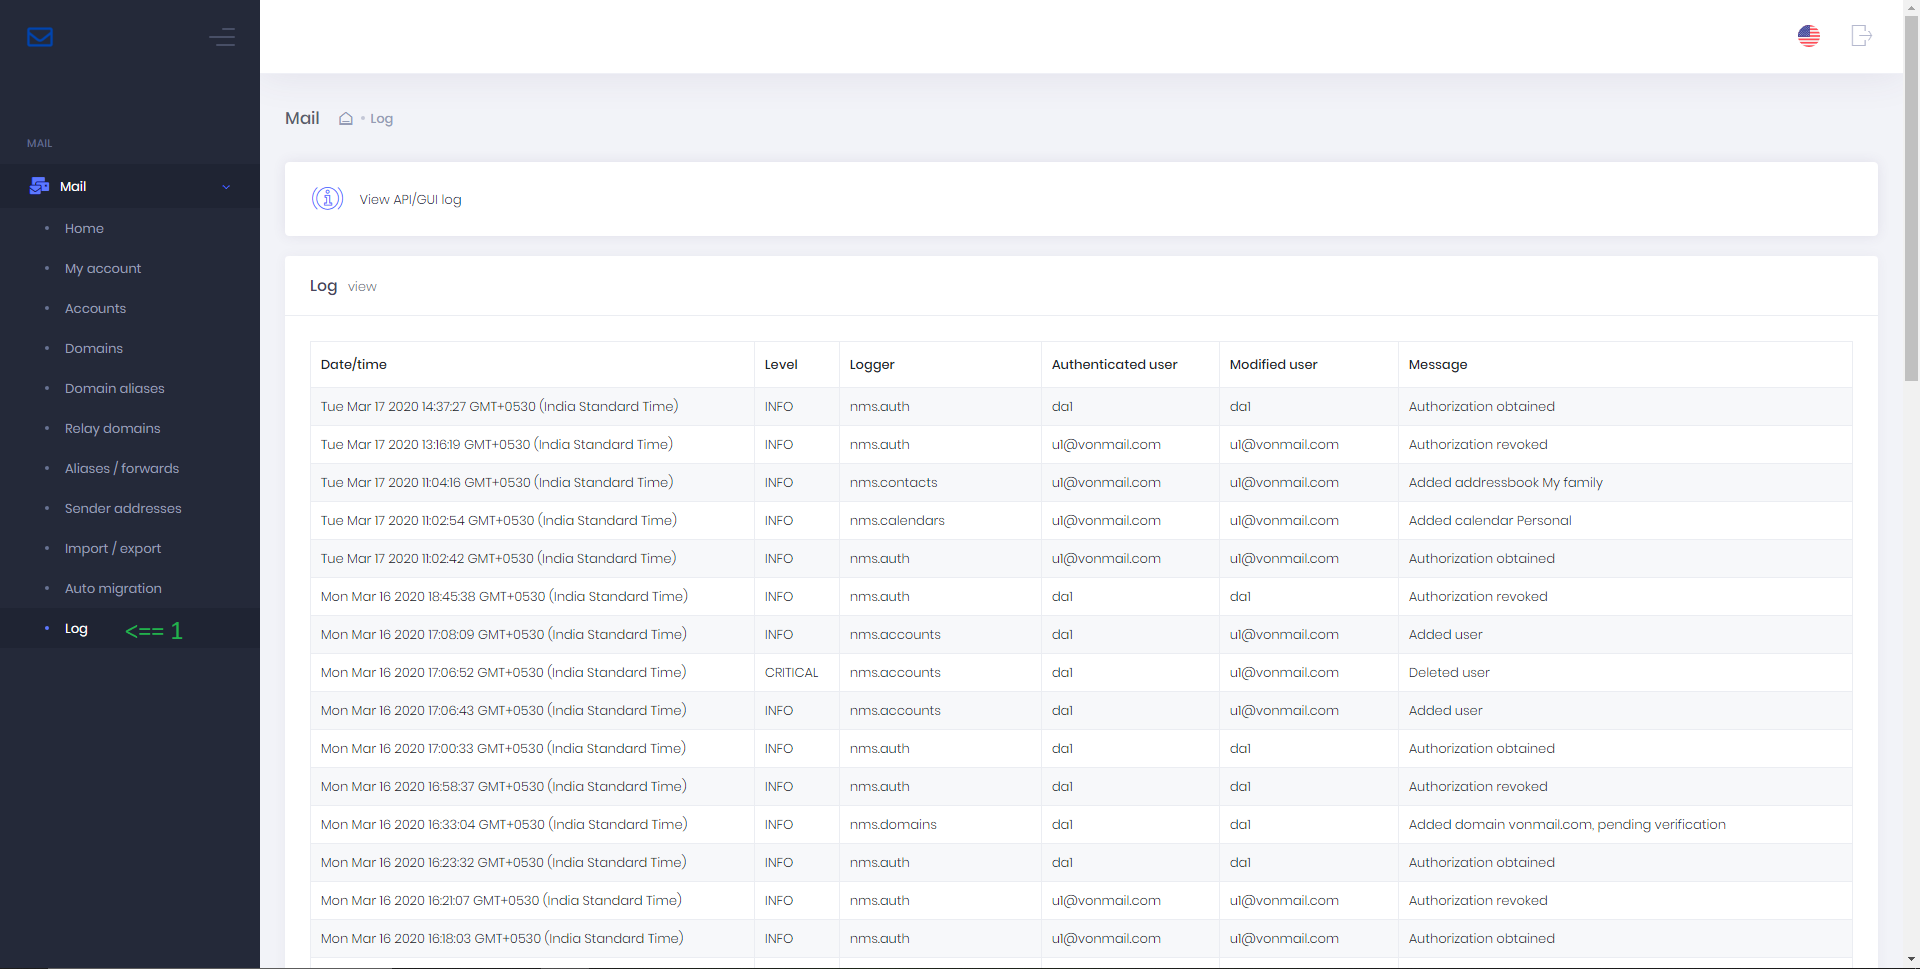
View API log
To view API and subsequently GUI (built on top of API) log, go to Log.
